Sweet basil (Ocimum basilicum) is quite popular in the Mediterranean and especially in Italian cuisines. It’s the basis of pesto and enriches salads, pizza, pasta, and other dishes with a distinctive flavor.
It’s what you’ll mostly find in grocery stores, even though there are several other varieties of basil, which include purple basil, Thai sweet basil, spicy globe basil, lemon basil, and cinnamon basil.
For 5,000 years, the ancient healers in India used this herb for myriad home remedies. It arrived in Europe as last as the 1600s and might have traveled with early American colonists as a cure-all instead of a culinary herb. Regardless of origins, gardeners love this today primarily for its excellent taste in so many dishes.
How to Grow and Care for Basil
A member of the mint family, basil grows as an annual—taking just approximately 60-90 days to mature—from seed to harvest.
It’s effortless to grow and care for. In fact, it makes the ideal herb for beginner gardeners to try.
You can grow basil from nursery transplants, plant the seeds directly in the ground, or start from seeds indoors. To get ahead of the season, start the seeds indoors 6-8 weeks before your area’s last spring frost.
What you’ll need to start your seeds indoors
- Basil seeds
- Seed starting mix
- Starter pots
- Spray mister
- Starting container with some plastic dome
Procedure
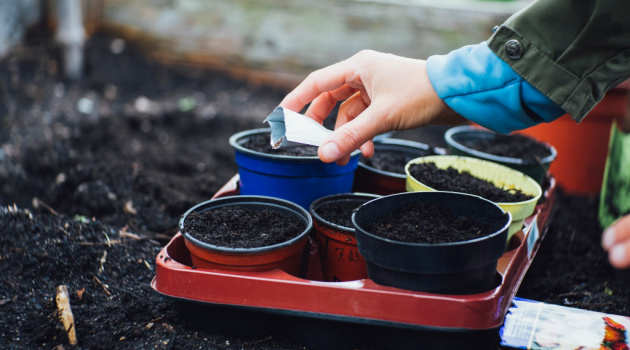
- Slightly moisten your seed-starter mix and add it to a 1 inch level below the top of the pot(s).
- Add in your basil seeds to the pots—just enough so that you may select the strongest once they germinate.
- Take ¼ inch of the dry seed starter mix and cover the seeds.
- Gently mist the seeds with water using a fine spray bottle—to enhance proper contact with the soil.
- Place your basil in a starting container with a plastic dome—to help trap humidity, and speed up the germination process.
You can also use a shallow pan and a plastic wrap if you don’t have a specialized plastic container.
- Set in a warm location, 70℉, and withhold watering until when the seeds germinate.
- The seeds should emerge in 7-10 days, after which you should remove the plastic wrap or dome and relocate the pot to a sunny windowsill.
- Mist frequently to keep the soil moist.
- Thin the seedlings once the true leaves appear—leaving only the strong ones.
- Once they put forth the third set of leaves, transplant to larger containers, and offer a weak fertilizer feed to boost nutrient level.
- Begin the hardening process gradually by taking the seedlings outside when the temperature begins to stabilize in the 70s (℉), but in a sheltered location.
- Transplant to your outside garden when the temperatures consistently reach 70℉, ensuring that the location receives plenty of sunlight, especially the morning sun.
- Space the plants 12-18 inches apart to allow sufficient airflow and plenty of sunlight.
Growing Basil from cuttings
Take a 4-inch basil cutting just below a leaf node, then remove the leaves on the cutting—about 2 inches from the end.
Note: Ensure that the cutting you take is a piece(s) that has not flowered.
Go ahead and place the cutting in a clear glass of water, so you’re able to watch the roots grow. Put the glass on a windowsill with good sunlight.
Be sure to change the water every other few days until the roots emerge. Then leave the cutting undisturbed to allow the propagation roots to grow to about 5cm, taking 2-4 weeks.
Once the roots get to 5cm or even longer, transfer into a growing pot indoors, and place the pot in an area with direct sunlight.
Basil Growing and Care Needs
Here are the basics this must-have plant requires.
Soil
It thrives best in rich, moist, well-drained soil with a 6-7 pH value.
Consider adding compost, blood meal, or cottonseed meal to the soil to boost its organic nutrient content.
Containers and raised beds work best for basil since they allow for better drainage. Just ensure the depth is at least 8 inches to encourage strong root development.
Sunlight
- Basil is a warm-weather plant, and so, grow it in a spot that receives plenty of suns—at least 6-8 hours a day.
- However, offer afternoon shade if you reside in the hottest climates—to prevent the plant from wilting.
- Also, consider mulching around the plants to help retain moisture and suppress weeds.
Watering
- Water deeply and regularly—at least an inch of water per week—to encourage deep root development and keep the soil moist.
- Watering early in the morning will help keep the plant strong in the heat of the day.
Fertilizer
To enjoy your basil throughout the season, you’ll have to harvest it regularly to stop blooming.
- Therefore, consider fertilizing lightly with a liquid fertilizer twice in a growing season to enhance the continuous growth of new leaves. This is in the case of outdoor growing.
- If growing in a pot, use a weak liquid solution every 3-4 weeks to help replenish the lost nutrients.
Temperature and Humidity
- Basil loves heat, and so, plant it when the daytime temperatures stabilize at the 70s (℉), and the nighttime temperatures cross to above 50℉.
- Consider protecting the plants from frost threat using row covers—to extend your harvest in the cold months.
- Ensure the row covers are wide and tall enough, so they don’t come into contact with your basil leaves.
Harvesting Basil
- In about sixty to ninety days, begin harvesting your basil—when the plant is between six to nine inches tall and has put forth its first six leaves.
- Pinch off the top set of leaves regularly to prevent the herb from blooming and prolong your harvest.
- Regular pruning also encourages branching, helps the plant become bushier, with more leaves, plus enhancing its vitality.
Step by step pruning instructions
You’ll need only herb pruning shears. I keep two sets of shears handy, using only for delicate herbs and the others for tougher plants. This separation ensures a nice, clean cut of the herbs to prevent bruises. Here’s a link to an excellent value: one pair of Fiskars herb pruning shears.
- Identify a spot on the branch with clear new tiny basil leaves developing.
- Cut the branch right above those tiny leaves, ensuring you don’t disturb the leaves themselves.
- Repeat the process with all the branches with tiny leaves growing.
You’ll notice, after weeks, that those tiny leaves have turned into new branches. Prune the new branches right above the new sets of leaves to allow them to branch out again.
If you don’t plan to use the leaves immediately, consider harvesting, then freeze for later use.
Although drying also helps preserve the herb for a longer period, freezing comes in handy if would wish to retain most of your herb’s flavor.
Freezing Fresh Basil
- Wash, then dry completely, rip the leaves off the stem.
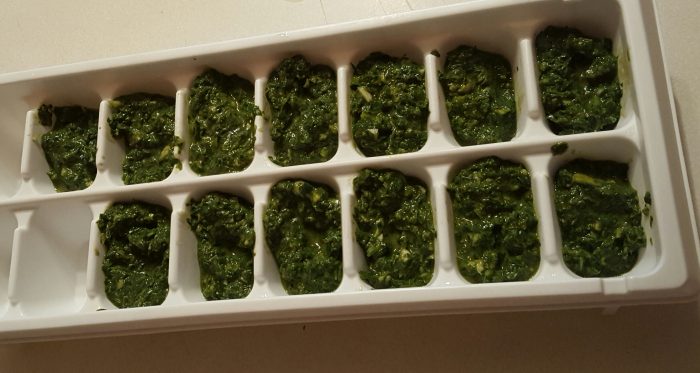
- Using a food processor, puree the fresh leaves with olive oil—measure 1 tablespoon olive oil per cup of basil.
- Place the pureed basil in the ice cube tray, then freeze. Transfer into a freezer-safe container once frozen OR use some large re-sealable plastic bag.
Alternatively:
- Skip the blanching process by just packing the basil leaves tightly into the bottom of your ziplock bag, then roll the bag up.
- The leaves will end up frozen in a log form and darken in color—which is perhaps the major downside of freezing without blanching. However, the leaves won’t lose any flavor.
- When you’re ready to use the leaves, simply slice off chunks as needed without necessarily having to thaw.
- This method is perfect for cooked dishes.
Drying Fresh Sweet Basil in the Oven
There are several ways to dry your basil, including air drying, microwave drying, and dehydrating.
However, if you want something easy, consider oven drying.
- Rip the basil leaves off the stem, wash them, then dry them completely.
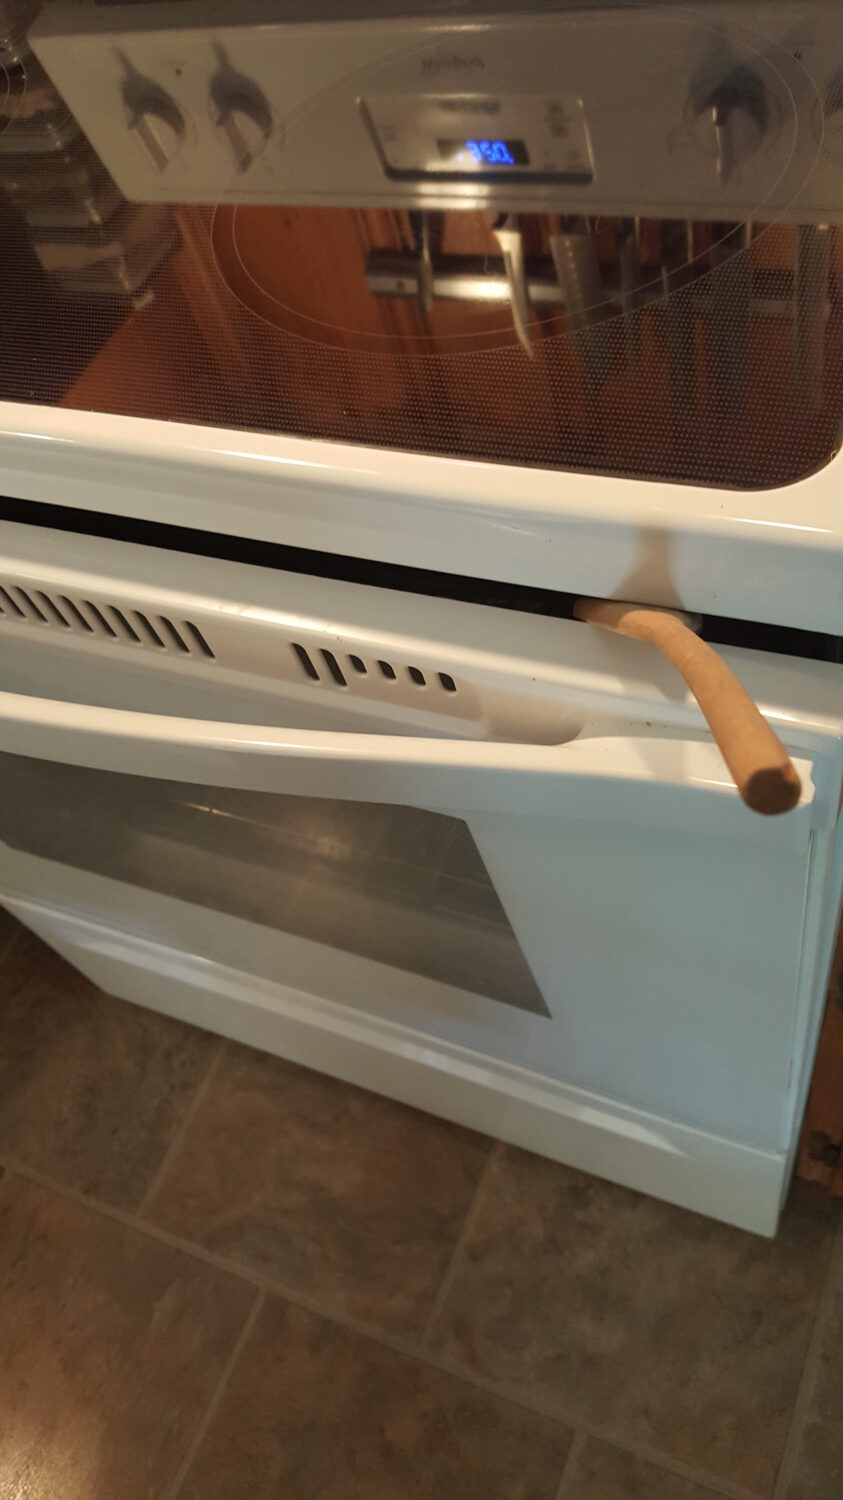
- Set your oven to the lowest temperature.
- On your parchment-lined baking sheet, place the basil leaves. Then place on the oven’s upper rack. Prop open the oven door to allow moisture to exit the chamber.
- Bake for 2-4 hours or until the leaves become brittle.
- Remove the leaves from the oven and allow them to cool.
- Crumble then store in airtight containers.
You can use the oven dehydrating process for almost any herb you grow. Just adjust the drying time as needed.
How to Dry Sweet Basil in an Electric Dehydrator
- Line your electric dehydrator tray with a mat to prevent the herb from slipping between racks as it dries.
- Wash and pat dry the sweet basil.
- Place it onto the dehydrator racks.
- Set the heat to 150° and dry for about three hours (keep an eye on it).
- Remove, cool, and use your fingers to “zip” the leaves off of the stems.
How to Use Basil in Your Cooking
Use it in your cooking to enhance the flavor of peppers, tomatoes, or eggplant.
Basil is great in ratatouille, pizza sauce, spaghetti sauce, stir-fries, and vegetable casserole dishes. For meat or fish dishes, combine with lemon thyme, chives, parsley, or garlic.
You can as well use basil:
- To garnish avocado toast
- As a puree in soups
- By chopping it and adding it to a salad (excellent with a watermelon salad!)
- By blending it into sauces.
- To top your pizza—use whole leaves.
- As an ice cream topping.
- As an appetizer.
Examples: watermelon, tomato, and basil skewers; Tomato, bruschetta, and basil; Pizzette with Gorgonzola, basil, and tomato; OR Basil bruschetta, mozzarella, and tomato.
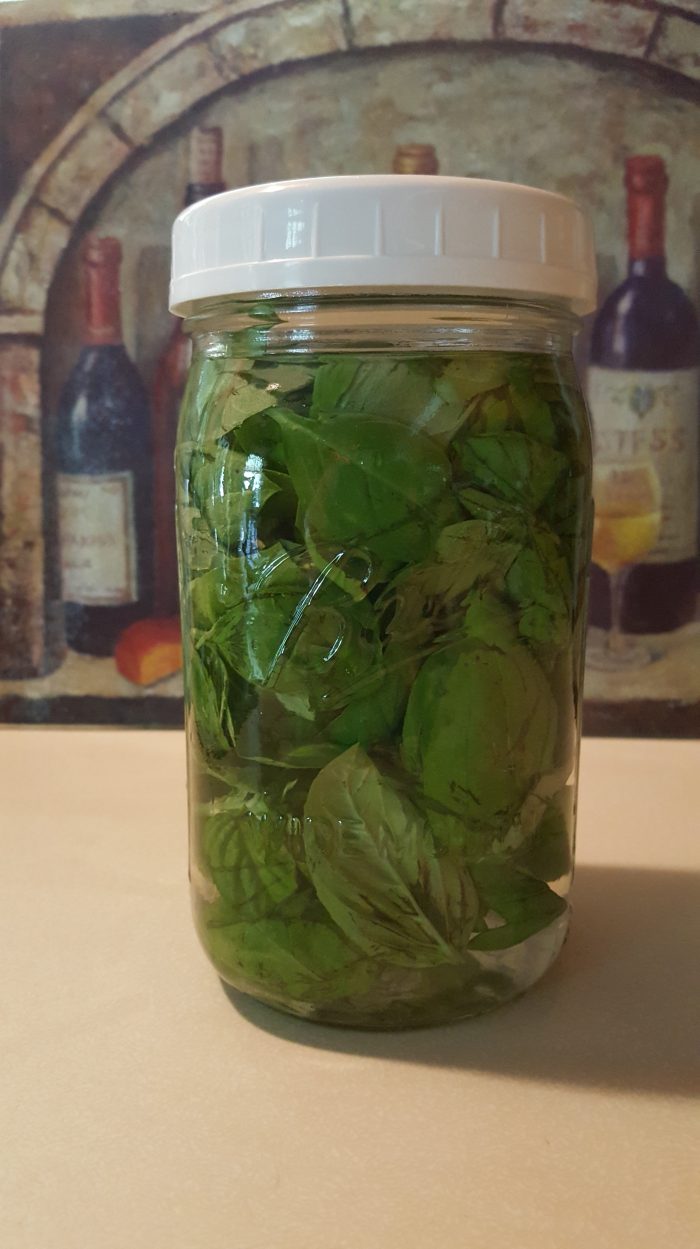
The Takeaway on Growing Sweet Basil
Grow sweet basil in your garden. It plays many useful roles, from a natural insect repellent to cooking your favorite comfort foods. It’s versatile, easy to use, and grows in almost every zone in the United States. Give it a try! Please feel free to share your experience with us on Facebook.

