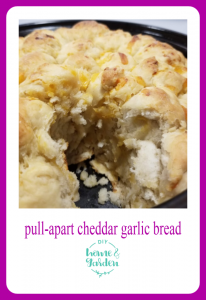
For your next gathering, swap out your same old dinner rolls for this home-baked pull-apart cheddar garlic bread. Stand back. Watch your guests gobble them up!
During the holidays, I get tired of seeing the same few traditional dishes. I love them, but it’s fun to change it up once in a while. This cheesy garlic bread gives you an easy way to infuse your next gathering with something new.
These pull-apart rolls are simple to make, transportable if you want to take them to a hostess. Most importantly, they are delicious!
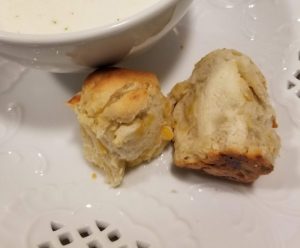
When you bite into one, you’ll first notice the slightly crusty bite of the outside and the almost chewy texture inside. Then, you’ll get the flavor explosion of zesty garlic and the luxury of melted cheese.
The pull-apart concept is awesome for sharing. No need for anyone to try to hack off a bit of bread to go with dinner. I break these into smaller “chunks” and let guests take whatever bits they want.
Don’t be deterred by the lengthy ingredient list or long instructions. There are several steps, but they really are uncomplicated. I am breaking them into specifics so that your bread rises properly and comes out yummy.
Pull-Apart Garlic Cheddar Bread Recipe
Ingredients:
- 3 cups of white bread flour
- 2 cups of white flour
- 1 envelope of rapid rising yeast
- 4 tbl. sugar
- 2 tsp. salt
- 1 1/2 tbl olive oil
- 1 3/4 cup warm water
- 3-4 cloves freshly pressed garlic
- 8 oz. shredded cheddar cheese
- 1/2 stick of butter
- Non-stick spray
Directions:
- Prepare by generously spraying a large baking pan with non-stick baking spray and preheating your oven to 400 degrees.
- Proof the yeast. You’re ensuring that your yeast is viable and will rise. Pour the envelope of yeast into a large bowl, add the warm water and sugar. Swish it around gently and wait for 5 minutes. If the yeast is good, you will see bubbling action after a few minutes. If you don’t see bubbles, discard your yeast. I use the bowl for my stand mixer when I do this to keep everything nice and neat when it’s time to clean up.
- Add the flour, salt, and olive oil to the pan. Use the dough hook of the stand mixer to knead this.
- Stop after a moment or two and scrape down the sides of the bowl, then add your minced garlic cloves and cheese. Start mixer for another few minutes. In about four or five minutes, the dough will form a ball shape–stop mixing right away so you don’t overmix.
- Cover with plastic wrap and let the bread rise for 30 minutes. The dough will approximately double in size.
Baking:
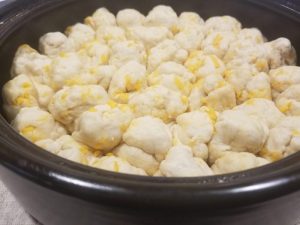
- After rising, remove the plastic wrap, spray your hands with cooking spray, and shape the dough into small balls of about 2 tbl each. Some people weigh the dough for precise shape, but I wing it. I don’t mind the rustic look. Place each small dough ball into the pan. They should be packed fairly tightly.

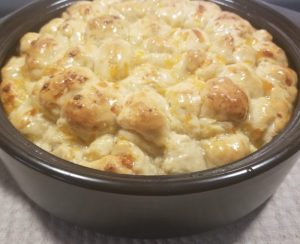
Here’s how my pan of bread looked before I popped it into the oven. Place the bread into the oven for 45 minutes. Remove, and brush with melted butter, and place back into the oven. Bake an additional 15 minutes. Your baking time could vary based on your altitude or heating elements, so watch to ensure you don’t burn the butter.

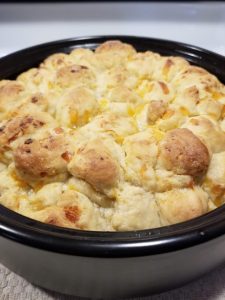
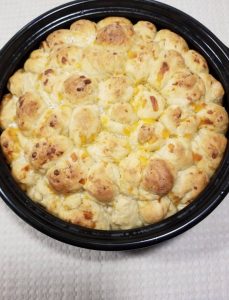
Once you’ve glazed the rolls with butter, watch closely as the butter can burn! But, it’s so necessary to the flavor. - When you pull them back out, lift and look at the bottom of the bread, they should be slightly browned on the bottom and the cheese should be oozy good.
Variations to Cheddar Garlic Bread:
I haven’t tried it yet, but I believe you can squeeze your creative juices and develop great flavor combos from this basic recipe. Jalapeno-Monterey Jack bread and Swiss-bacon bread both come to mind. Once I try, I will update this post and let y’all know how it worked for me.
One other note. I used pre-shredded bagged cheese. Some recipes call for hand-shredding. The day that I decided to come up with my own recipe for cheesy garlic bread, I only had the pre-shredded on hand. It came out just fine.
Enjoy your pull-apart cheddar garlic bread. Please let me know how this works out for you. Remember to share to Pinterest to save your recipe (plus, that helps me out!)