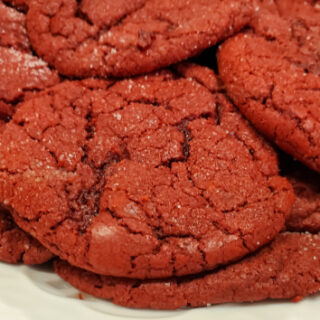
Red Velvet Sugar Cookies are rich, decadent, and have a luxurious texture. They smell amazing, look beautiful stacked on a plate, and… oh yeah. Did I mention they taste pretty darn great?
Despite the delicious aroma and flavor, they are actually effortless to make. In fact, you start them from your favorite red velvet cake mix, taking away all the work of measuring and sifting. Just mix them up, let the dough chill in the fridge for a while, and BAM! You’ll pop cookies in the oven with minimal effort.
Why Use a Red Velvet Cake Mix to Bake These Cookies?
One word. Simplicity.
Indeed, you will find this yummy flavor of cake mix to be super-affordable, readily available at every grocery store in the United States, and easy to work with.
Red velvet sugar cookies have a slight chocolate flavor. Which makes sense because it derives from cocoa, giving it that familiar taste you crave.
Think out of the box with cake mixes! You can use them for cookies, pancakes, crumb topping (like my apple pecan dump cake recipe), and more. The convenience of having part of the ingredients pre-measured takes out much of the guesswork from baking. That ease makes them ideal for beginning bakers.
Sure, you can always graduate to scratch-making cakes or cookies later. But these are so delicious, why bother?
The Kitchen Supplies You Need to Bake Your Red Velvet Sugar Cookies
You really don’t need to do much to set up to bake these red velvet sugar cookies. No power tools are needed today–unless you use a small mixer for your own convenience.
- Two cookie sheets. I use stoneware. I’ll explain why below.
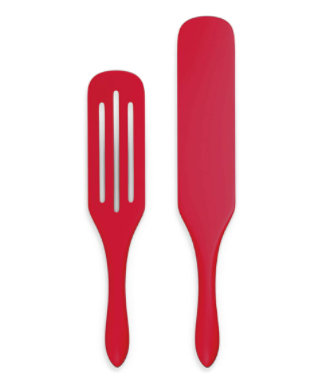
- A wooden spoon or another sturdy mixing tool (I use my spurtle for almost everything)
- Mixing bowl
- Measuring cup and spoons
- Cooling racks
- Spatula for removing cookies from the baking sheets
Why Bake on Stoneware?
A couple of years ago, I started baking cookies on stoneware. Like most people, I used non-stick bakeware. And yes, you can bake these cookies on non-stick sheets.
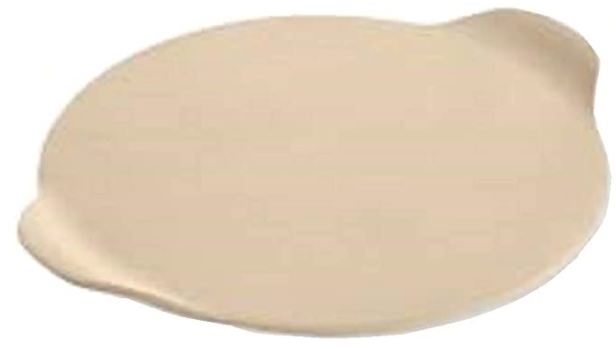
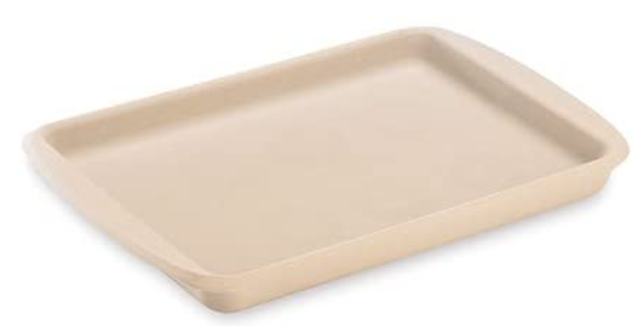
However, I once had a day I was too lazy to dig for my cookie sheet at the bottom of the stack in the drawer under the oven. You all know that place. I got to my Pampered Chef stoneware bar pan and pizza stone first, plopped the dough down and popped them into the oven. When they came out, they had the best texture of any cookie I had baked in my entire life. The bottoms of each cookie had a nice, even crispiness, and the insides were perfectly soft and chewy. Perfection!
The stoneware ensures consistently even heating. In fact, it’s naturally non-stick. That means you can clean it up with just a nylon scraper and water. You don’t need–nor should you use–non-stick cooking spray on these natural stone bakeware pieces.

Since this is the second stoneware piece you see a glimpse of in the video, I’ll also include the info on that one, as well:


Recipe for Red Velvet Sugar Cookies
So now that you have all your gear together let’s bake cookies!

Red Velvet Sugar Cookies
These moist, scrumptious red velvet sugar cookies come from a cake mix. Your secret is safe--they taste, smell, and look scratch-made.
Ingredients
- One box of your favorite brand of Red Velvet Cake Mix
- 1/3 cup of vegetable oil
- 1 1/2 tsp. of pure vanilla extract
- 2 eggs, whisked
- 1/4 cup granulated, white sugar (for rolling)
Instructions
- Put the cake mix, vegetable oil, pure vanilla extract, and eggs into a large mixing bowl.
- Stir everything until well combined.
- Cover the bowl and place in the fridge for twenty minutes, to chill the dough. If you try to shape the cookies without this step, they will be unmanageable.
- Preheat the oven to 350° F
- After the chilling time ends, shape the dough into 24 evenly-sized balls. Roll in the granulated sugar.
- Put the cookies on an ungreased non-stick cookie sheet (I use stoneware, nothing sticks).
- Bake for ten minutes for a fudgier textured cookie or twelve minutes for a firmer texture.
Video Recipe:
Many have been asking us for more videos. We are working hard to create more video content to keep up with your requests. The creators at DIY Home & Garden soooo appreciate your feedback. So we will strive to make more–and better–videos for your enjoyment.
The Takeaway: Red Velvet Cookies Are Simple to Bake (from a cake mix!)
Whether you are a novice baker or experienced around the kitchen, you will love the outcome you get when you bake a batch of these satisfying cookies. Please take a moment to subscribe to our YouTube or Rumble Channels. We have tons more new video content coming very soon! Also, please be sure to follow us on Facebook or Mewe for discussions. We’d love to see you there!
- Are Geraniums Annual or Perennial? - 09/21/2024
- DIY Home & Garden: Featured on ApartmentGuide - 09/21/2024
- Bacon: Creative Uses That Go Beyond the Breakfast Table - 09/08/2024


