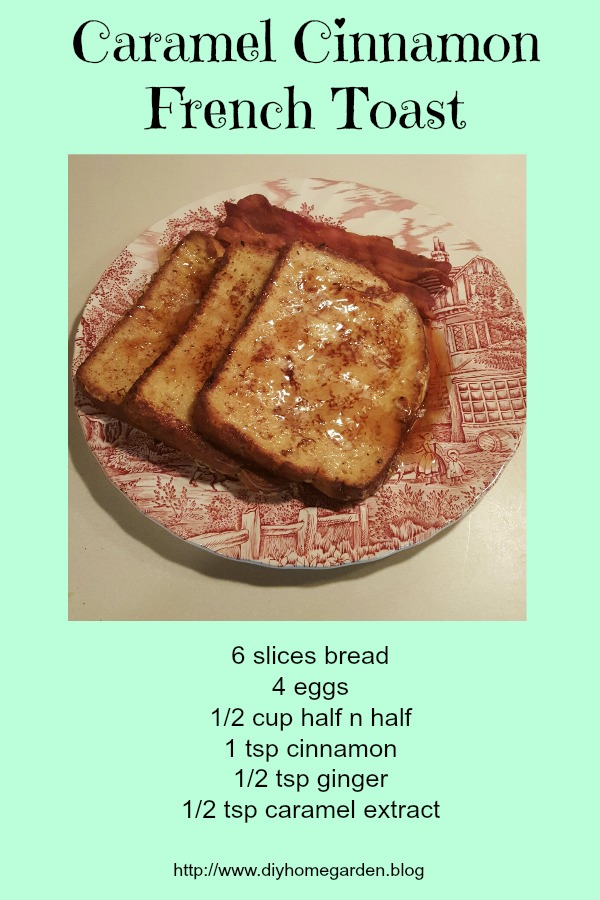
French toast sticks are a favorite weekday breakfast item for so many families. The convenience of a hot meal ready to go after just a few minutes of warming time in the toaster oven is hard to beat.
But the cost of those convenience foods can rack up a hefty price at the check-out counter. So why not trim down your food cost by making these yummy, easy-to-make French toast sticks and flash freeze them at home?
What? You know how to make French toast sticks, but you are unsure about the flash freezing part? Not to worry! We have you covered.
This video explains how to make this homemade breakfast favorite food in a few steps…and then we explain how to flash freeze them so that you end up with individually frozen French Toast Sticks instead of a giant frozen glob of bread. It’s always such a letdown when your food does not freeze the way you want it to, isn’t it?
VIDEO: How to Make French Toast Sticks and Flash Freeze Them for Storage
So without further ado, here is the French Toast Stick recipe in printable format, along with the narrated video instructions, as promised earlier:

French Toast Sticks for the Freezer
Ingredients
Method
- Spray the pan with non-stick cooking spray and preheat it.
- Whisk together the eggs, milk, and cinnamon to combine.
- Cut each slice of bread into four sticks.
- Dip each stick into the egg batter, coating it. Pop it into the skillet.
- Using tongs, brown each side of every stick, giving them a quarter turn about every minute or two, or once the side gets golden brown.
- Remove to a baking sheet and let the French Toast Sticks cool completely. Then put the pan into the freezer for four hours. This allows them to flash freeze, or individually freeze.
- When you take the tray of French Toast Sticks out of the freezer, you will need to gently wiggle them free of the pan. Place the desired number of sticks into individual serving sized freezer bags, date and label them, and freeze them. Use within 90 days.
Video
Serving Your French Toast Sticks
After you make this recipe and freeze it, plan on serving them within about ninety days. Personally, I’ve never kept them around for that long. Because I am on WW (formerly Weight Watchers), I find this an effortless way to pre-portion my servings, and I enjoy 4 sticks (one slice of bread) one day per week without guilt!
When you are ready to heat and eat, remove the sticks from the freezer, pop them in the toaster oven at 400° for a few minutes, and warm them through. You really cannot make this any easier!
To serve, try these toppings:
- Maple syrup (a predictable, but yummy, classic)
- Peanut butter for a protein boost
- Powdered sugar
- Berries for antioxidants
- Honey for extra sweetness
- Caramel or chocolate topping or both for a decadent dessert pastry (Yep, I admit to this!)

The Takeaway: Mastering Flash Freezing Saves You Money
It only takes a few moments to whip up a batch of this delicious breakfast dish. Most of your time is “free time,” as you wait for it to flash freeze. By doing this, you will save money on your grocery bill and still have the convenience of pre-made, tasty, out the door easily French toast sticks for your family. Be sure to let us know how much you love these! Connect with our page on Facebook or Mewe to share feedback with us.

