Today’s post is all about how to freeze sweet corn without it getting mushy when you serve it. There’s nothing better in the dead of winter than corn that was picked fresh and frozen quickly. It practically bursts with the flavors of summer. On the other hand, there’s nothing worse than badly frozen corn.
I live in a very rural farming community in Eastern North Carolina. While I love to garden, I don’t grow corn. I am fortunate, though. I have neighbors and friends who grow acres of corn. And they are willing to share. Almost every summer I receive dozens of ears of corn.
Today, I was given fifteen ears of corn. True, it’s a small batch to freeze. However, I freeze all that I’m given. This means that I freeze several of these small batches every summer. It ends up more than enough to get through the winter. On the plus side, it’s much less overwhelming to freeze in small sessions like this.
I don’t like to freeze corn on the cob. I like it off of the cob. It reheats better and is easier to store in the freezer, as I can lay the bags flat.
Here are the steps to freeze sweet corn for your own freezer. This method allows you to store away this seasonal treat in a way that stays tasty. Moreover, it retains its wonderful texture when you heat it up and serve it later.

STEP ONE: SHUCK AND CLEAN THE CORN
Shuck the corn, I like to do this outside. It’s a kind of messy job and I like to keep all that out of my kitchen.
Clean the ears of corn under cold running water. Pick off all the corn silks that you can. Cut out any bad kernels.
STEP TWO: BLANCH THE CORN
Bring a large pot of water to a rolling boil. Add 2 tablespoons of table salt. Add 6 ears at one time. I don’t like to do more than four to six ears at once because you want to be able to remove them quickly so they don’t overcook.
You don’t want to cook them all the way through. If you do, they will not cook well after freezing. The kernels will lose their “pop.”
The proper time for blanching, in a large stockpot (preferred method), is four minutes.
STEP THREE: ICE BATH

Fill a large bowl with ice water as your corn is blanching. After your 4 minutes of blanching time is up, place the ears into an ice bath. This process is called “shocking” the veggie. It stops the cooking quickly and cools the ears of corn so that you can work with them.
If you skip this step, you will get mushy and overcooked corn when you heat it to serve. As tempting as it is, don’t take the shortcut!
As I have six ears cooling in the ice bath, I place another 6 ears in the pot to blanch.
After they cool for a few minutes in the ice bath, move the ears to a clean towel until you are ready to remove them from the cob.

STEP FOUR: CUT THE CORN OFF THE COB
Use a very sharp knife to remove the corn off of the cob. Wait until your corn is cooled so you don’t burn your hands!
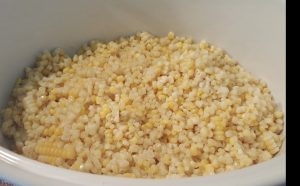
I like to cut it on a clean towel. The corn tends to fly all over as you cut it off and the towel contains the mess. Then I just take the whole towel and dump the corn into a bowl.

STEP FIVE: PLACE CORN INTO ZIP TOP BAGS
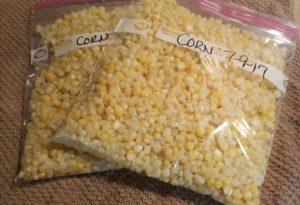
Spoon your corn into zip top or vacuum sealer bags. I use pint bags, but use quarts, gallons, or whatever sized bags you need for your own family. Squeeze the air out, then flatten them. I place my bags on a baking sheet until they freeze so they stay nice and flat.
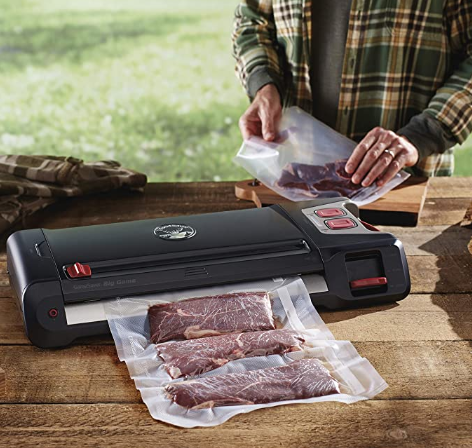
Please note, I normally freeze mine with my FoodSaver. It freezes for longer when you vacuum seal. However, today I found myself without the bag material as I created these instructions so settled for freezing corn in zipper bags.
Below is the FoodSaver model that I love!
The Bottom Line: You CAN Freeze Golden Sweet Corn So That It Retains Flavor and Texture Later
That’s it! You prepared corn for the freezer! When you are ready for a fresh taste of delicious sweet corn just pull it out of the freezer. Remember that you cooked it partway during the blanching process, don’t overcook it!


