Use watercolors to handpaint a card instead of opting for an overpriced, less personal store bought option.
So often, the cards in stores get expensive really fast. The nicer the card, the higher the price, but they still feel impersonal. But looking at handmade cards can be intimidating when you think of making your own, but in actuality it’s not hard.
This year, instead, opt to hand-make a card. This design is abstract with basic watercolors that is simple, beautiful, and easy.
What You’ll Need for Making Cards

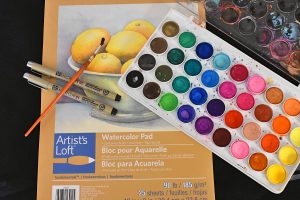
First, you’ll need a few basics. Watercolor paper, watercolor paints, a brush, a pencil, and some pens. I prefer archival ink pens since they don’t bleed, but a fine-tipped Sharpie will work just fine.
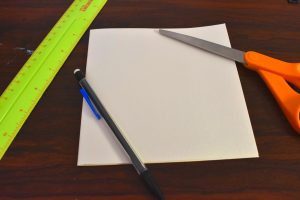
Second, I personally like the look of a square card with the circular design inside, but it’s up to you. Fold your paper into a card shape and cut to whatever dimensions you’d like (or rather, that your mamma would like).
Then, sketch out your design with a pencil. Trace a circular object in the center of your paper to start the wreath; I just used a pot of lotion upside down- it doesn’t take anything fancy.
Inside that circle, write your message. I’d suggest “Happy Mother’s Day,” if you’re feeling stumped.
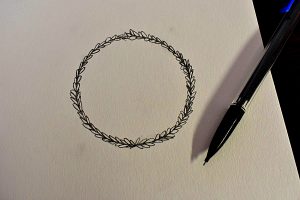
Draw the Wreath

For now, you’ll leave the wreath rough in pencil. Feel free to go over your message in the middle with pen now if you’d like. Then, erase away the pencil!
How to do the Painting
While the watercolors look beautiful, it’s a very easy process. First, you’ll want to prepare your space slightly. Lay down a paper towel or a cloth towel that you can risk staining onto your table.
Next, take clean water onto your brush and ‘trace’ the outside of your wreath with water. Don’t get water onto any of your pencil. Be as careful as you can. Go all the way around, spreading water out from the wreath to the edge of the page. Apply a lot of water around the edges while holding the card and spinning it so you’re always apply water beneath the wreath so it can run to the bottom of the page.
Don’t apply water to the page above the wreath, instead, spin the card so that spot will then be on the bottom. Doing this ensures that you don’t streak water- and later paint- through the wreath.
Let the water run naturally to the edges of the paper and fall off onto your covered table. This will start making the natural, abstract lines of the card.
Once you’ve done this and saturated the paper, you’ll start in with actual painting.
Again, always turn the card as you work. Start building your color palette, adding colors to the outline of the wreath (where you first put the water down) and let it run to the edges. If you want more color, keep adding it to the main circle and let it run.
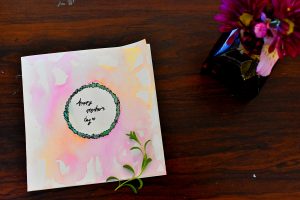
The card shown, that I did, was painting entirely by adding water and paint to the main circle around the wreath, I never added color anywhere else with the brush, that motion of the color is built when the water runs to the edge.
Keep adding color, turning the card, adding water to run it down, and repeating until you’re happy with the design. Don’t be scared to leave the paint very simple, it’s the type of look this project fits with.
Then, let dry until stiff and fully dry.
Finish it Up
Once your card has dried, you can go back over your wreath with your pen or marker. If you’d like, color in the leaves, but the look of the plain ink is really simple and beautiful.
Go over any other message or line work on the card until you’re happy. Then, write your heartfelt message on the inside and wait till Mother’s Day to hand over your little work of art.


