Like most gardeners, you may want to include bell peppers in your vegetable garden. Peppers are excellent in all sorts of dishes. These dishes can be raw or cooked. They can be frozen at the season’s end. Throughout the winter, you can enjoy its dishes. We have given some bell pepper information. This article will help you learn about growing these delicious and nutritious vegetables. The knowledge you will gain here about pepper plant care will go a long way.
Preparing Bell Pepper Seeds for Planting
Ripe bell peppers are in shades of yellow, orange, red, green, or purple. The seeds inside the peppers appear flat circular-shaped and white. For them to germinate, they need specific light and temperature settings. They are usually germinated indoors to control the conditions. These seeds will germinate in about eight to ten weeks. But it depends on the variety and the growing environment. You can harvest the peppers in 65 to 70 days after the seeds germinate.
Step 1.
Choose fresh bell peppers and cut the tops off using a knife. Scoop the insides of the pepper with a spoon. Remove any debris from the seeds. After that, spread them on a pepper towel in a single layer.
Step 2.
Put the pepper towel with the seeds on a plate. Place the seed outdoor or under the sun or next to a sunny window. Let the bell pepper seeds dry for five to six days.
Step 3.
Put the pepper seed in a paper envelope and store it in a dry location until early spring comes.
Step 4.
Fill to the full seed starting pots with seed starting soil. Place the pots under a heat lamp to warm the soil to 80 degrees Fahrenheit.
Step 5.
Allow the bell pepper seeds to be soaked in warm water for three hours. In each container, sow two bell pepper seeds. The seeds need shallow planting. Plant them twice as deep as their diameter.
Step 6.
Cover the pots with a clear plastic bag or a plastic dome. It comes with the seed starting pots you bought. Inspect the soil every day to make sure it does not dry out completely. To keep the soil moisturized, water it. Do not over-water the seeds because it can lead to fungal infestations.
Step 7.
Keep the 80 degrees Fahrenheit temperature under the heat lamp. Allow the bell peppers under the heat for 16 hours a day. Make sure that the soil temperature remains in the range of 80- and 90-degrees F during the daytime. Turn off the heat lamp for 8 hours at night to keep the soil temperature above 60 degrees F.
Step 8.
Thin the bell pepper seeds to one healthy seedling to each pot when one set of true leaves develops. Transfer the bell pepper seedlings outdoors once the threat of frost passes. Also, when the soil temperature is still above 50 degrees Fahrenheit. Put a space between pepper plants, about 12 to 18 inches apart.
Taking Care of a Bell Pepper Plant
The bell pepper plant is easy to take care of when you planted and positioned them right.
Watering.
Water your pepper plants regularly. Keep the soil evenly moist. Never allow the soil to dry up especially when the plant is in flower. The crop may be damaged.
Fertilizing.
Once the first fruit is set, apply a dose of high potash liquid fertilizer like tomato feed. Continue to apply following the instructions on the packet. You can also make an alternative liquid plant feed. When the flowers first emerge, you may spray the plant with an Epsom salt solution. Do this 10 days later. Applying Epsom salt solutions forms a sweeter and large fruit. Simply dilute 1 tablespoon of Epsom salts in a gallon of water to make the solution.
Weeding and Pruning.
As mentioned above, red pepper plants have a shallow root system. Weeding often damages this and may cause the plants to fail. Mulch around the crops regularly instead. This will prevent weeds from emerging while also helping the soil keep its moisture. If your plants grow more than 14 inches in height, pinch out the growing tips. It encourages bushier growth and helps prevent legginess.
Do not over prune the foliage of the plant. Pruning away too much foliage leaves the fruit unprotected and vulnerable to sun-scald. Deadheading must be done if the flowers emerge before the plants have reached a good size. It can also be used to stop new fruits from forming. Thus, encouraging already formed fruit to mature.
Support Your Bell Pepper Plant.
Because of its shallow root system, it is prone to toppling over. In particular, this is the case when it is laden with fruit. Stakes or tomato cages can be utilized to provide support. It has the extra benefit of keeping the fruit away from the ground where it may rot or be a victim to pests. Tie as loosely as possible the stems and branches. Tying too lightly may damage the plant.
Harvesting
Sweet bells are unique. Choosing when to pick them is usually up to you. If you want the flavor of green pepper, pick a few when they’re full-sized with thick flesh. But if they’re not yet beginning to turn shades of red, yellow, or orange, don’t harvest yet. Peppers will sweeten the longer you leave them on the plant. The vitamin C will increase.
Make a clean cut with a knife or sharp scissors when harvesting. Be careful not to topple or otherwise disturb the plant. You will regret knocking off any fruits that are still developing or causing any damage.
Wipe away excess dirt with a clean and dry cloth. Store it in the produce crisper bin of the refrigerator for one week. Never wash until you are ready to use them. Damp produce will become moldy and rot quickly in the refrigerator.
Recipe and Storage of Bell Peppers
Freezing Bell Peppers.
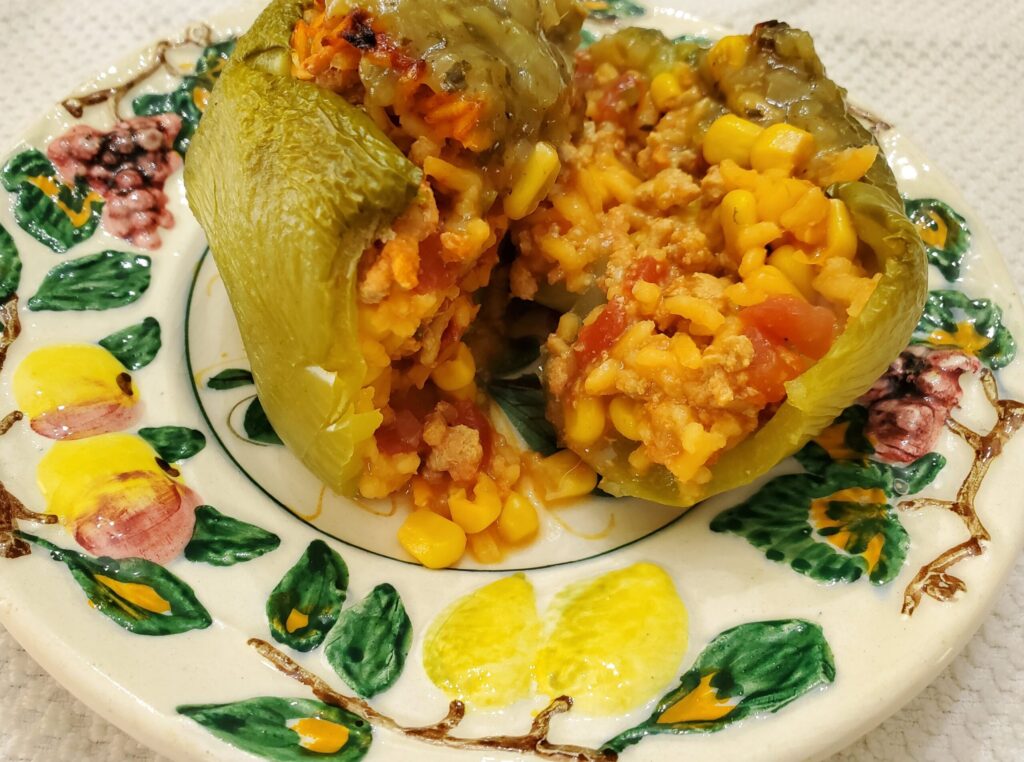
This is the easiest storage method. But the peppers will be soft when thawed. The flavor is retained. Use frozen peppers primarily for adding spice to soups, sauces, and stews. Stuffing peppers before freezing can give you ready-made dinner, perfect for the microwave.
Pickling Bell Peppers.
Peppers can also be preserved by canning them. But they’re low acid fruits and need canning under pressure. It’s easier to pickle peppers with a simple brine of four cups of water. Also, four cups of vinegar and ½ cup of pickling salt. Put a clove or two of garlic and some fresh herbs for added flavor.
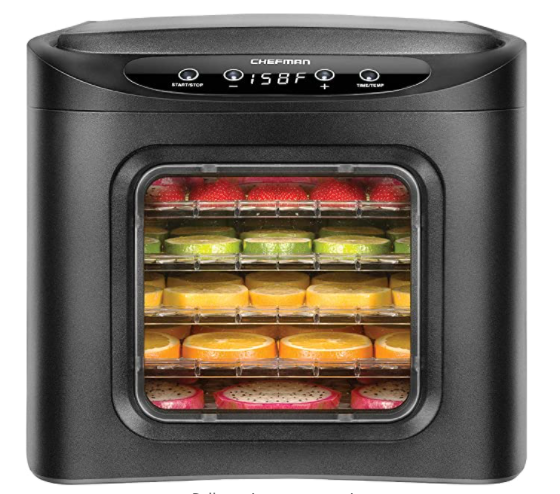
Drying Bell Peppers.
It works best with the thin-walled hot peppers. The smaller varieties, in particular, can be dried whole right on the plant. Dry the peppers slowly to keep their color and flavors.
The Bottom Line: You Can Easily Grow Bell Peppers From Seeds With These Instructions
There’s quite a bit of information provided above. I want to wrap up with some key points to remember. First, start seeds early or buy good looking seedlings. Make sure to harden them off before transplanting. Second, wait to transfer into the garden until two or more weeks past the last frost date. Third, since roots are shallow, mulch and keep water moisture consistent. Keep these things in mind and soon enough, you will be enjoying the fruit of your labor.