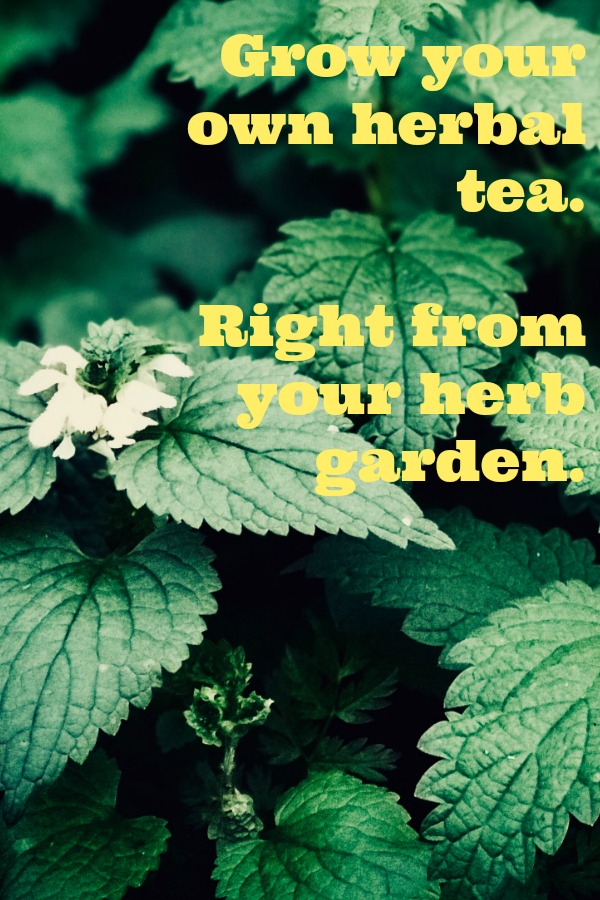
Most people simply refer to it as chamomile; however, there are two quite distinctive and popular varieties of this widely cultivated herb.
You’ll find seeds for both German chamomile (Matricaria recutita), the herb, mostly used for making tea; and the Roman chamomile (Chamaemelum Nobile), a creeping annual plant, commonly used as a ground cover—though some use it to brew the herbal tea as well.
The two varieties thrive in almost similar growing conditions; they contain chamazulene (the essential oil), are both apple-scented, exhibit pretty white daisy-like flowers, and most of all, are highly esteemed for their medicinal properties.
Chamomile medicinal uses
For thousands of years, chamomile preparations have been used in alternative medicine to treat human ailments such as inflammation, hay fever, muscle spasms, gastrointestinal disorders, wounds, insomnia, ulcers, and rheumatic pain.
When dried, chamomile flowers contain terpenoids and flavonoids, which are both responsible for the herb’s medicinal properties. Indeed, researchers today agree with those early healers. Studies concur that chamomile proves beneficial in treating the following conditions:
- Hay fever
- Inflammation
- Menstrual cramps
- Sleeplessness
- Rheumatoid arthritis
- Hemorrhoids
- Stomach discomfort
- Wounds
- Ulcers
- Back pain
- Muscle spasms
Healers also recognize the flowers of this herb plant as a natural antiseptic, insect repellent, and as sedative (or mild tranquilizer).
Many, especially in the U.S, identify it as a vital ingredient in herbal tea owing to its soothing properties.
Growing Chamomile
Let’s look at how-to-grow tips for the two main species of this fast-growing annual plant.
1 – German chamomile
- It’s easy and best grown from seeds, even though you can still buy seedlings from your local nursery.
- Start the seeds indoors (under lights) about six weeks ahead of your area’s last expected frost date.
- In your seed-starting medium, sow the tiny seeds by scattering them on the soil surface, then irrigate—mist with water.
- You can then firm the soil lightly to hold the seeds in place; however, ensure you do not cover the seeds with soil.
- Keep the temperatures at 70℉ (consistently) to give the seeds a good start.
- In about two weeks, your seeds should germinate.
- Thin the seedlings once they reach four inches high by snipping the weak and unhealthy ones at the soil surface.
- Before transplanting, harden off the seedlings and only transplant (to the garden, raised beds, or into your growing containers) after the danger of frost has passed.
- Space the plants eight to twelve inches apart to ensure enough air circulation.
- For direct seeding outdoors, plant in the Fall to increase the chances of good germination.
- German chamomile is one of the rare self-seeding annuals that can quickly become invasive if left undisturbed.
2 – Roman chamomile
- This variety is quite tough and will thrive when directly sown into the landscape or garden soil.
- Sow after the last frost, or simply check your seed package for the recommended planting time in your area.
- Sow by scattering the seeds on the soil surface and cover with a quarter an inch of soil. Then gently firm the soil lightly to hold the seeds in place.
- Irrigate to keep the soil moist.
- The seeds should sprout and emerge within two to three weeks.
- Thin after the emergence of the second set of leaves—ensuring the plants stand one foot apart.
- Allow the plant(s) to go into seeding at the end of the growing season—to provide even more seeds and offer more ground cover in the following year.
Chamomile growing needs
Here are the things your plants need to thrive.
Soil
- The herb prefers not-too-rich organic (sandy) soil with a neutral pH range of 5.6-7.5.
- You may want to tweak the soil by adding some organic material or compost, especially if it’s primarily sand or clay—to help boost the soil’s moisture retention and improve drainage.
- Though it may survive in poorer soils, the stems will be floppier. This is especially the case with the German chamomile.
Light
- A sunny location in the garden is the most ideal. However, the plant will still tolerate some shade.
Water
- In the beginning, water regularly but moderately. Plan on giving your plants an inch of water a week.
- Once established, chamomile is quite drought-resistant and trouble-free. And so, allow the soil to somehow dry out between your waterings.
- Offer some afternoon shade and keep it watered if you reside in a sweltering climate. This will help prevent the blooms from drooping.
Fertilizer
- Chamomile isn’t a heavy feeder. Therefore, it won’t require additional fertilizer throughout the growing season.
Troubleshooting tips
Though not very prone to harmful pests and diseases, there are a few instances when chamomile can suffer powdery mildew—a fungal disease that brings about a whitish powder on the foliage.
The disease can appear during extended periods of hot and damp weather. Remove and discard any diseased leaves immediately you notice the signs.
However, consider spacing the plants adequately to prevent powdery mildew to encourage good air circulation.
- If your chamomile gets top-heavy in the middle of the growing season, offer support. Some bamboo stakes with twine will help keep it upright.
- Generally, most insects keep off chamomile—making it a good companion for several plants.
But pests like aphids may still try to find their way to the herb. If they (aphids) become a problem, use water spray to wash them off the plant. Treat with insecticidal soap in the case of severe infestation.
Best companion plants to chamomile
- Basil—Grown alongside basil, chamomile helps boost the production of essential oil by basil plants.
- Cucumber—Chamomile’s scent attracts beneficial insects like hoverflies and ladybugs. In turn, these insects eat harmful pests like aphids and cucumber beetles that feed on the cucumber fluid.
- Brassicas—Radishes, turnips, cabbage, cauliflower, broccoli, kale, and kohlrabi are all brassicas. These plants exhibit a sweet aroma, making them vulnerable to harmful pests such as cabbage butterflies, cabbage moths, and cabbage worms.
To keep the pests away, plant your brassicas alongside chamomile so that the strong chamomile scent masks the sweet scent that attracts the pests.
Growing chamomile in containers
As mentioned earlier, chamomile does well in containers as well, as long as the soil is well-drained.
You can expect the plant to quickly outgrow your window herb garden or small container, and so be sure to use large containers. If possible, accord each plant a 30 cm pot.
Ensure your soil mixture is light enough to allow for proper drainage and good aeration. To achieve that, simply mix your regular potting soil with coco coir or perlite.
If possible, use terracotta pots for excellent drainage and air circulation.
Make sure you keep an eye on your potting mix so that it doesn’t dry out completely.
Chamomile seeds quite well and rolls out very fast. Therefore, having them in a container garden helps control the spread.
Harvesting chamomile
Harvesting your chamomile will be a continuous process since the plant’s flowers bloom all through summer, especially if you pick them regularly.
Pick the leaves at any time, but for the flowers—wait until they’re fully open and the petals begin to arch back.
Chamomile leaves and flowers can be harvested and used for various purposes—including making tea.
However, keep off the leaves if you don’t like the bitter taste.
Use your harvest fresh or dry and store it for later use.
How-to tips or harvesting without damaging the plants
Like any other herbs, consider harvesting your chamomile in the morning—when the dew is gone and before the heat of the midday sun sets in.
Use your fingers to pick just the flower heads.
Gently pinch the plant’s stem right below the flower head. Then place your middle finger and forefinger below the head of the flower. With your other hand holding the stem of the plant, pluck the flower head(s) off the stem.
Alternatively, simply pinch off each of the flower heads using your thumb and forefinger just below the flower head.
Gather as many mature blossoms as possible and harvest anytime during summer when the blossoms are in full bloom.
How to dry chamomile
First, wash the flowers in a water container, removing any floating dirt. Drain, then gently pat dry.
Alternatively, give the flowers a gentle shake, then pick any dirt or insects that may be hiding on the flower heads.
To dry the blossoms, use any of the below methods:
Using food dehydrator
- Begin by pre-heating the dehydrator to your preferred temperature—depending on the size of your flowers and their level of dryness.
- For the averagely sized flowers, set the unit at 105℉.
- Note that even the lowest setting on your dehydrator will still get the drying job adequately done. However, the process may take longer.
- Place your flowers on the dehydrator trays in a single layer—allowing enough space between the flowers for aeration.
- Consider using some parchment on the tray if the flowers are too small that they can easily fall through the tray.
- Check on the status of the process after every thirty minutes.
- Depending on the temperature and the type of dehydrator you’re using, it may take around 1-4 hours or even a day for the flowers to completely dry out.
- Once dry, they will feel crunchy and brittle.
Oven drying
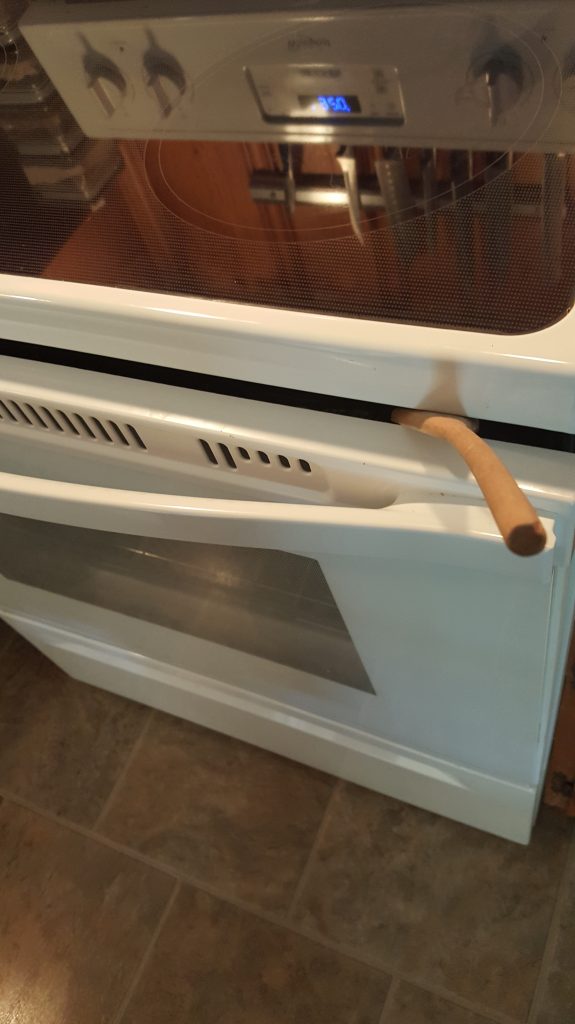
- Set your oven at its lowest temperature setting.
- Line your baking sheet with parchment, then spread out the flowers in a single layer.
- Put the baking sheet in your pre-heated oven and wait for a few hours—constantly checking on the process every thirty minutes.
- Keep the oven door slightly open to allow for adequate ventilation.
- Gas ovens are even more straightforward since you don’t necessarily have to turn your oven on. In most cases, the pilot light suffices the drying process—which may most likely turn to an overnight task.
Lay-flat method
- Place your flowers in a single layer (to prevent overlapping) on a flatbed sheet or piece of newspaper, and bring them indoors in a warm, well-ventilated location—free from humidity, extreme heat, and direct sunlight.
- Allow drying for one to two weeks.
You may want to consider a microwave if you have only a handful of chamomile blossoms to dry.
- Set your microwave to defrost mode—this is the lowest heat setting on most microwaves.
- Place the flowers on a flat surface on some paper towel or newspaper, making sure that the flowers don’t overlap.
- Heat the flowers at intervals of thirty seconds.
- After thirty seconds, take the flowers out of the microwave and allow them to sit at room temperature for a minute before returning in.
- Repeat the same process (the intervals) until the flowers dry out completely.
Storing your herbs
Once dry, you can immediately use the herb or store it in an airtight container for up to a year. Ensure the location is excellent and dry.
How to make chamomile tea
This herbal drink is made from dried chamomile flowers and infused into hot water.
It’s believed to aid body relaxation and, therefore, a great sleep booster.
Other benefits of chamomile herbal tea include improved digestive health, skin health, stress relief, and enhanced immune system.
What you’ll need
- Infuser or tea ball
- A heaping teaspoon of dried (or newly harvested and cut up) chamomile flowers
- Nearly-boiling water (eight ounces); use filtered water if possible.
- Tea mug
Brewing the tea
- In an electric kettle or pot, heat your water until you see the small bubbles beginning to form.
- Add your dried or fresh chamomile to the infuser or tea ball, then place it (the infuser or tea ball) onto your tea mug. Note: A tablespoon of dried chamomile should be sufficient if using an infuser.
- Pour the hot water into the mug and cover with a lid.
- Let the tea steep for five minutes; then remove the infuser or tea ball.
- Add flavor—milk, honey, or fresh fruits like apples. This step is optional.
Voila! Your tea is ready!
The Bottom Line: Begin your chamomile growing journey today!
Grow it from seeds indoors or directly sow outdoors—chamomile will still offer you the benefits.
Just ensure that you don’t over-water or over-crowd the herb.
Provide well-draining soil and full sun, and make sure the soil stays moist.
That’s it. What are you waiting for? Get growin’!

