A yard overgrown with greenery often turns into footpaths that take away from your curb appeal. But a simple update every DIY landscaper can add in is by creating a pathway to guide the foot traffic. From a simple walking area to creative geometrical formats, adding in flagstones for a pathway offers unique and beautiful looks for the summer season.
These simple steps will create the perfect look to upgrade your yard and bump up your curb appeal.
RELATED POST: Make a Million Dollar Backyard on a Budget
STEP 1: REMOVE THE EXISTING MATERIALS
If you have another path of greenery, then you want to take out the surface. So make sure that you create an even surface with gravel or hard dirt to lay the flagstone on. Moreover, it is important to rake out the surface and dig out any unwanted items for the pathway.
STEP 2: DESIGN YOUR PATHWAY
An easy way to create the right look is to liven your design before you lay the new flagstone. Then you can spray paint the area you are interested in changing into a walking area. Make sure you measure the width of the path as well as make the area even for the new path area. Then, if you are satisfied with the path, dig four inches on each side to raise the pathway.
STEP 3: MAKE THE GROUND EVEN
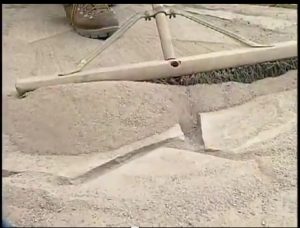
Firstly, you may need to lay new dirt or take out other items in the pathway. Then make sure that the walkway you place is even. If you have dirt that is higher than other areas, your flagstone won’t lay correctly and may wobble after you finalize the path. Simply rake the area for an even surface.

STEP 4: LAY THE FLAGSTONE
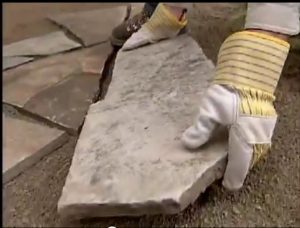
The beauty of flagstone is that you have creative rights based on how the materials la. You want to create a gap in between each flagstone of 1/8″ to 2″. Moreover, it is important that the gap is even between all flagstones. However, the unique shapes and designs of the flagstone allow you to shift and define the pathway with unique looks.

STEP 5: JOIN THE MATERIAL TOGETHER
Taking a paving stone binder, usually in the form of a sand, and sweep it in between the flagstone gaps. This will hold your new pathway together. Make sure that the binder is all the way to the top of the flagstone, creating an even pathway and ensuring that your flagstone stays connected.

STEP 6: KEEP EVERYTHING IN PLACE
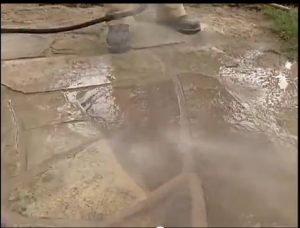
For many paving stone binders, they require final steps to keep together. You will need to spray a mist and a harder water pressure to glue your paving stone. If there are any areas that are not filled to the top, then add more sand in for the final placement and spray the water again. You will need to look at the instructions of the binder you are using for better results.

With these six simple steps, you will find a new look for your backyard. The beauty of flagstone and the creativity of a new path helps you to upgrade the outdoors for this season. To change the look and style of your yard, use this weekend to create your flagstone pathway.
Landscape Designer Brooke Heart uses products by Envirobond, a world leader in 100% organic paving binding products. Check out Envirobond products before you build your pathway.


