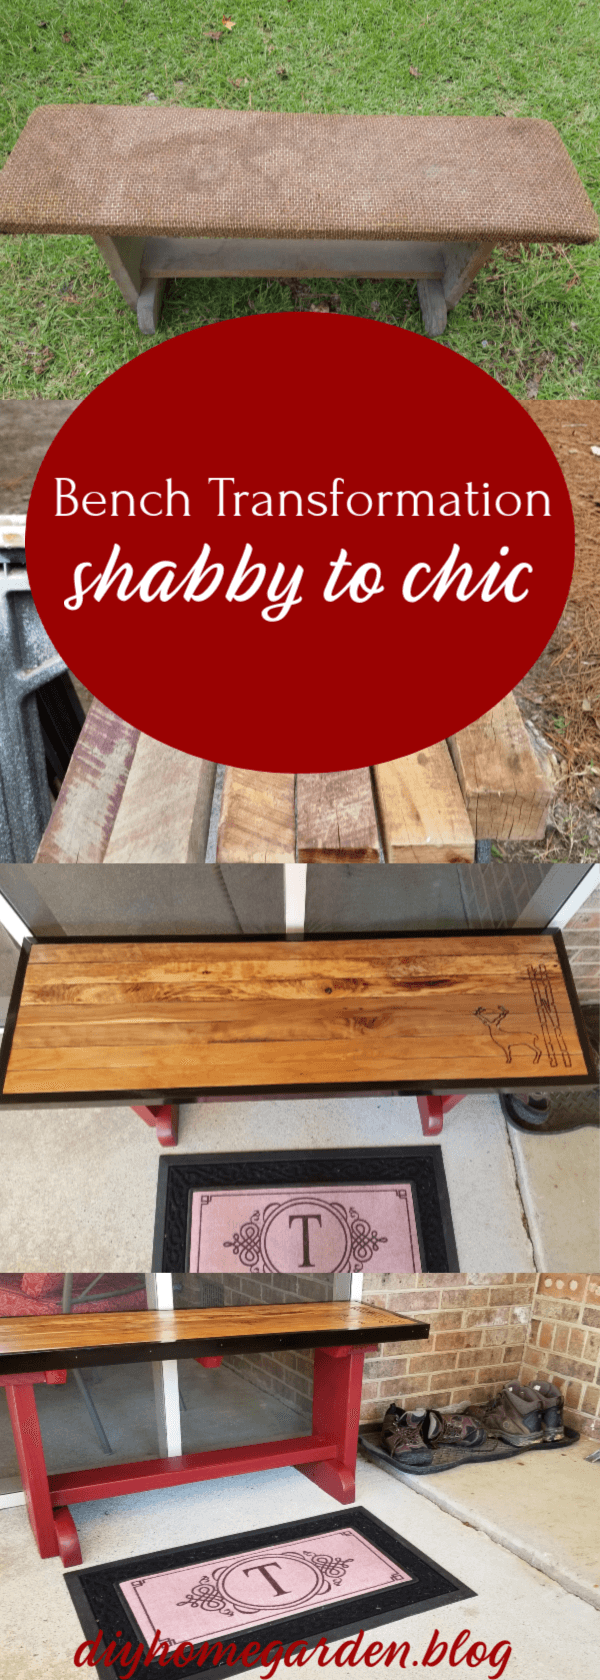
Recently, my husband accepted my challenge to help me make a bench transformation, taking an old, worn out trestle bench from shabby to chic.
Because of our small house size, we didn’t have a mudroom. Because we do have plenty of space and a carport at our back door, I created an area to serve as a mudroom for us. We live in the country, and muddy boots are highly likely!
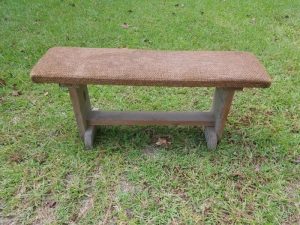
This bench was a trestle bench that I picked out of a friend’s barn. It was headed for a dumpster. It was absolutely ugly but had a good sturdy base.
This is what it looked like before we worked on it.
My husband loves woodworking. He’s way better at it than I am. It’s like therapy for him, so he asked me to pick three colors and trust him.
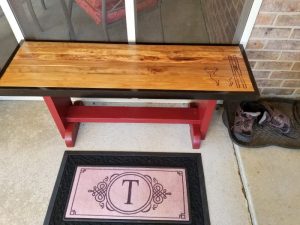
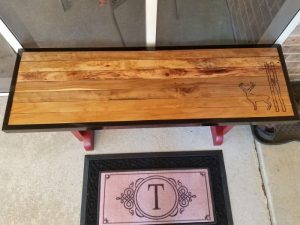
The end result is this:
Here’s how we teamed up and took it there. Although I will admit, my role was minimal. Read on.
Step One: Removing the old top and sanding
I started by removing the old top. I flipped it upside down, unscrewed the top, and tossed it into the trash. Then, I sanded the base down. It took a lot of sanding to get through heavy polyurethane and stain. However, a good, clean surface was necessary.
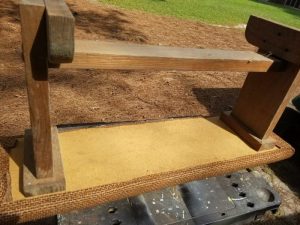
I also took the time to re-secure some screws that were loosened near the feet of the bench while I had it apart.
Step Two: Create a bench seat
My husband’s work gets long strips of oak to sit large pieces of material on to keep them off of the ground. They have a seemingly endless supply of these oak strips. They have a ton of character. He loves using them for different projects, and he knew they’d be perfect for this.
Creating the bench seat was actually a multi-step process that took up most of the time spent on this project.
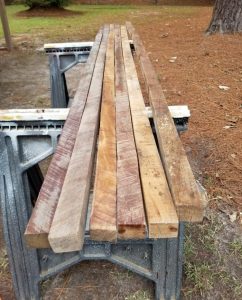
Prepping the oak wood
One challenge.
They are not perfect. He had to run them through his planer and grind them so they would fit together flush.
At that point, he cut each board to the correct size. In addition, he took the time to cut four pieces with mitered edges that would frame the bench seat for contrast while he was sanding and cutting…planned ahead. I would never have thought to do that.
After that, he had to sand them to give them a better finish.
He also needed to create a support that would attach the bench seat to the trestle support. Those supports also were cut out of some scrap wood.
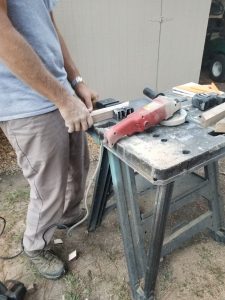
He sanded those pieces also so that he would get a nice, clean finish on them.
Glue the wood to form a seat
He then glued together the wood strips to form a seat. He used large clamps to hold them together overnight. This gave the seat a solid bond that makes it very sturdy.
I warned him to cuss while I was making this video. lol. You’ll see at the end, he did mess up. But, he was a good sport about it and explained how to fix the mistake. He forgot that he shouldn’t glue the last board as it was to be an exposed edge. Oops! No big deal, he fixed it by sanding it off after it had dried. Obviously, once they were glued together, he couldn’t “re-shoot.”
By the way, do you notice that he dodges his head out of the photos? I guess he’s camera shy.
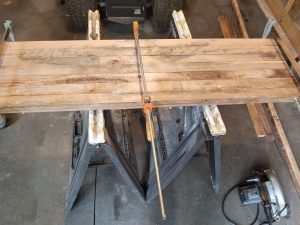
Finally, we dry fit is before attaching the support to make sure all was lined up. However, we did not attach it yet, because we still needed to paint.
Step Three: Embellishment
My husband’s an avid deer hunter. He wanted to make this a true one-of-a-kind piece that put his personal stamp on this project. He used a stencil to draw a buck on the bench. Then, he used his router to carve out the image.
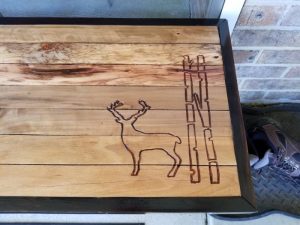
Step Four: Staining and Painting
I had been invited to choose the paint colors. My screened-in porch, which is near my outdoor mudroom, has red cushions. Red’s my all-time favorite, so I went with that for the trestle bench base. I chose a dark espresso stain and a light, natural finish stain.
The colors I chose were the following:
- Sherwin-Williams for Lowe’s WeatherShield Exterior Paint in Sundried Tomato (satin finish).
- Minwax Polyshades in Classic Oak for the center of the bench because I wanted a more natural finish.
- Minwax Polyshades in Espresso for the trimmed out edge of the bench’s top.
The Polyshades stain combines stain and polyurethane into one, eliminating the need for two steps. I say we painted. However, I mean “he” painted.
First, he used the espresso stain and carefully added it to where he had carved the buck image. He also took the time to stain the trim pieces that were to surround the seat in the Espresso color.
While that dried, he gave the trestle bench base two coats of red exterior paint.
He also took time to stain the trim pieces that were to surround the seat in the Espresso color.
Once the buck image had dried, he stained the bench seat with the Classic Oak Stain.
It took three coats of stain, with a nice sanding in between, to give the bench the perfectly finished look that he wanted. Plus, because it will sit outside, we know it’s protected.
Step Five: Attaching the top to the base
After all paint and stain had dried, he attached the espresso trim pieces to the top of the bench. Then, we attached the top to the base of the bench with deck screws to make it very tight and sturdy.
Wrap-up
This was a project that took us several hours…days…to complete. When you are working on a project that’s a labor of love, take your time and enjoy the process. Not only will you have fun, but it will ensure that you don’t bloop your paint and have a beautiful outcome.
For those who are curious about the cost, we spent just under $50 on the sandpaper, screws, paint, and stain. This was far less than buying a custom bench. Plus, we now have a unique focal point at our back door and a practical place to take off our muddy boots.
