Do the skyrocketing costs for groceries and household goods put your budget in the RED? These DIY microfiber sanitizing wipes that you can prepare at home can help you save some serious money.
It can be challenging to know where to cut back–you gotta eat! But one place where you can quickly trim down is on cleaning supplies. Skip the expensive single-use disposable wipes, paper towels, and expensive cleaning sprays.
Instead, try this alternative–make your own cleaning wipes. You can spend a few dollars on microfiber wipes, recycle a 75-wipe container, and free yourself of spending as much of your cash on these one-use items.
Since I started making these in 2020, when paper towels were non-existent, I continued ever since. I have found that I only change my kitchen paper towels out about once every six week. I’ve drastically cut down on their expense by making the one-time investment in microfiber. Save cash without giving up on cleanlinness.
How to Make Homemade Microfiber Sanitizing Wipes:
This short video shows you how you can make these microfiber wipes.
If you prefer a readable version, here it is:
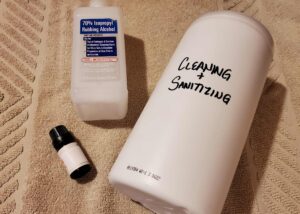
Supplies You Need for Making Homemade Microfiber Wipes
- One empty 75 wipe container
- Towel to cover your work area
- Bucket
- 1/4 cup of 70% rubbing alcohol
- Orange or lemon essential oil (cuts down on the medicinal alcohol smell)
- 10 microfiber square cloths – Click here to read about the brand I ordered from Amazon (affiliate link)
- Permanent marker
How to Prepare the Wipes
Let’s do this!
Step One – Prepare your work area
- Remove the lid and label from the wipes container.
- Mark the container with the permanent marker so nobody else mistakes it.
- Spread out a towel near over your work area (water involved!)
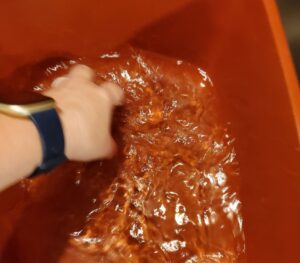
Step Two – Mix the cleaning solution
Put into the bucket:
- 6 cups of water
- 1/4 cup of rubbing alcohol
- 25 drops of citrus-scented essential oil
Give it a good swish with your hands.
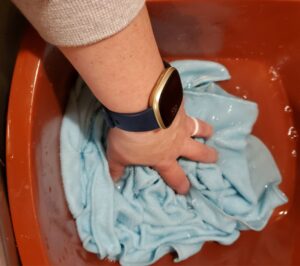
Step Three – Soak the microfiber cloths
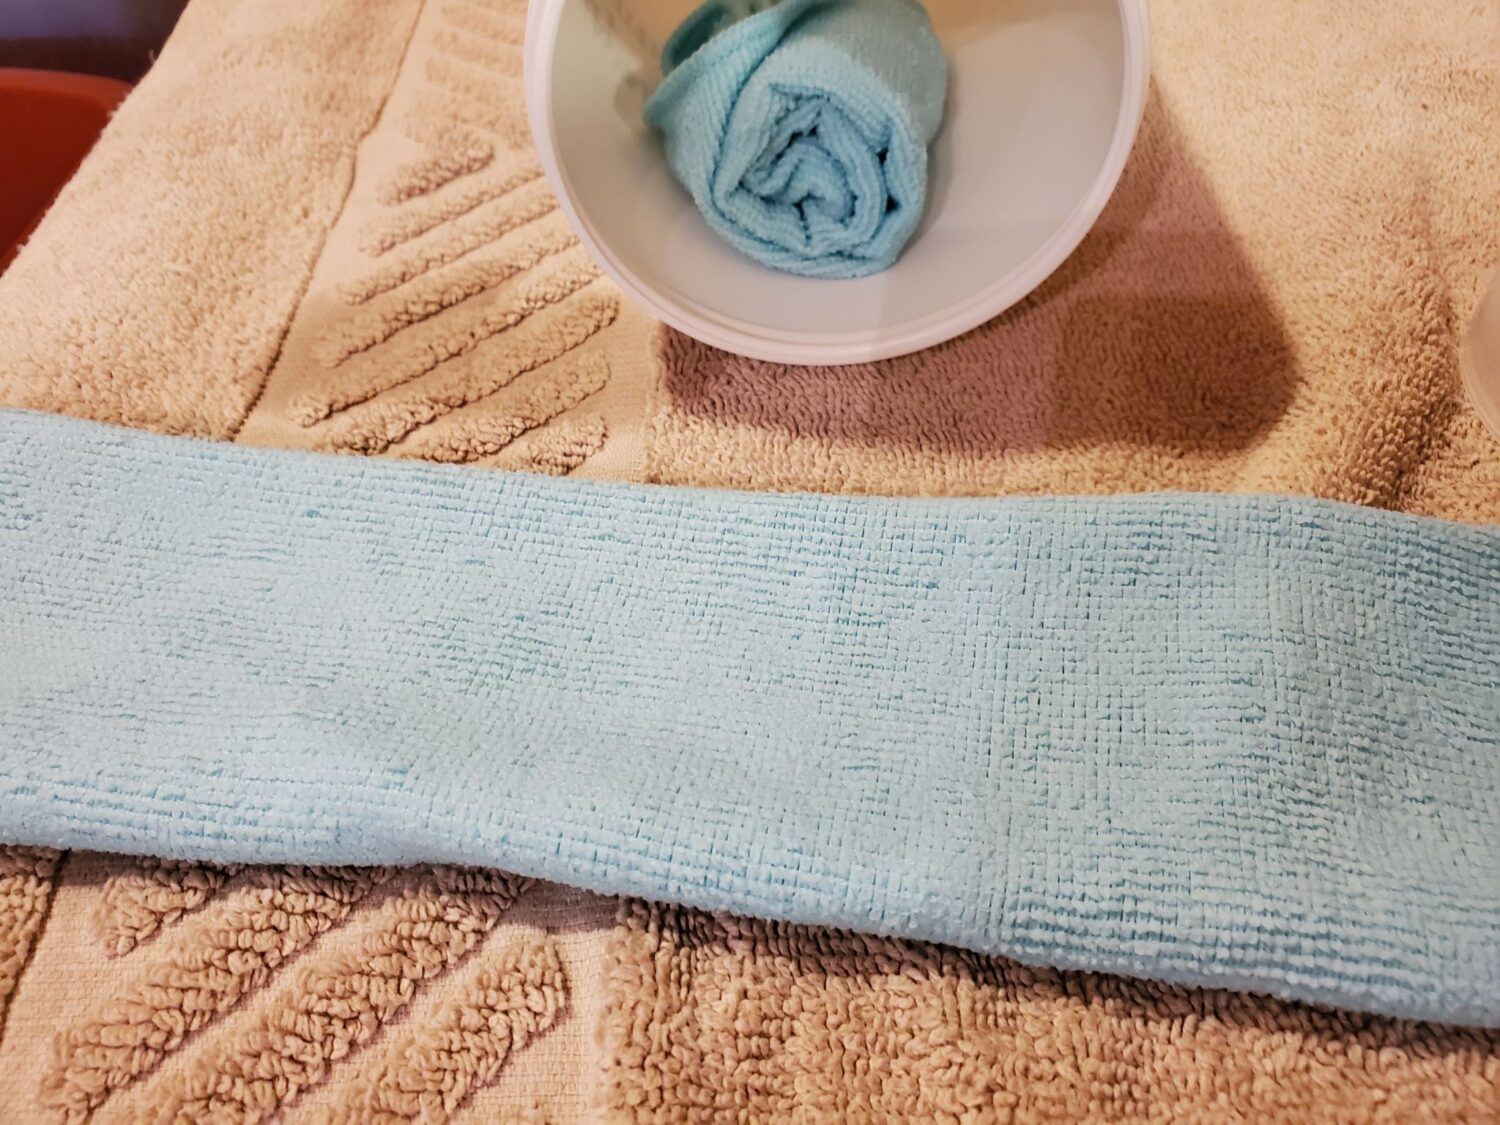
Step Four – Load up the container
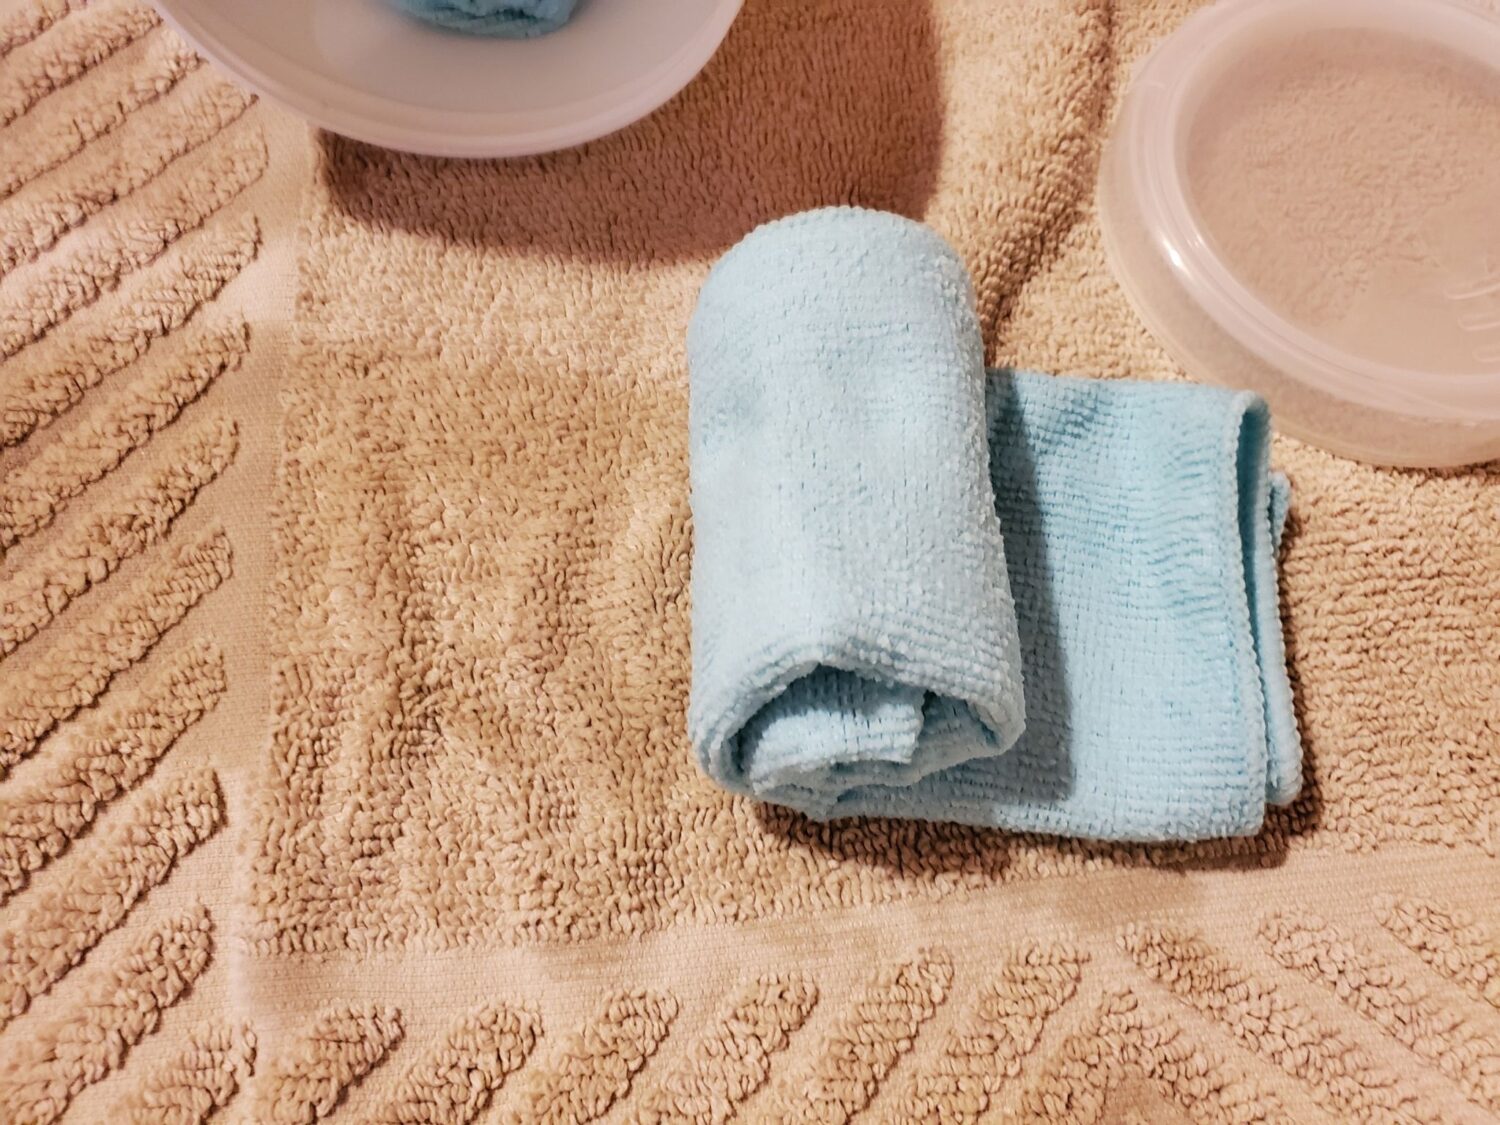
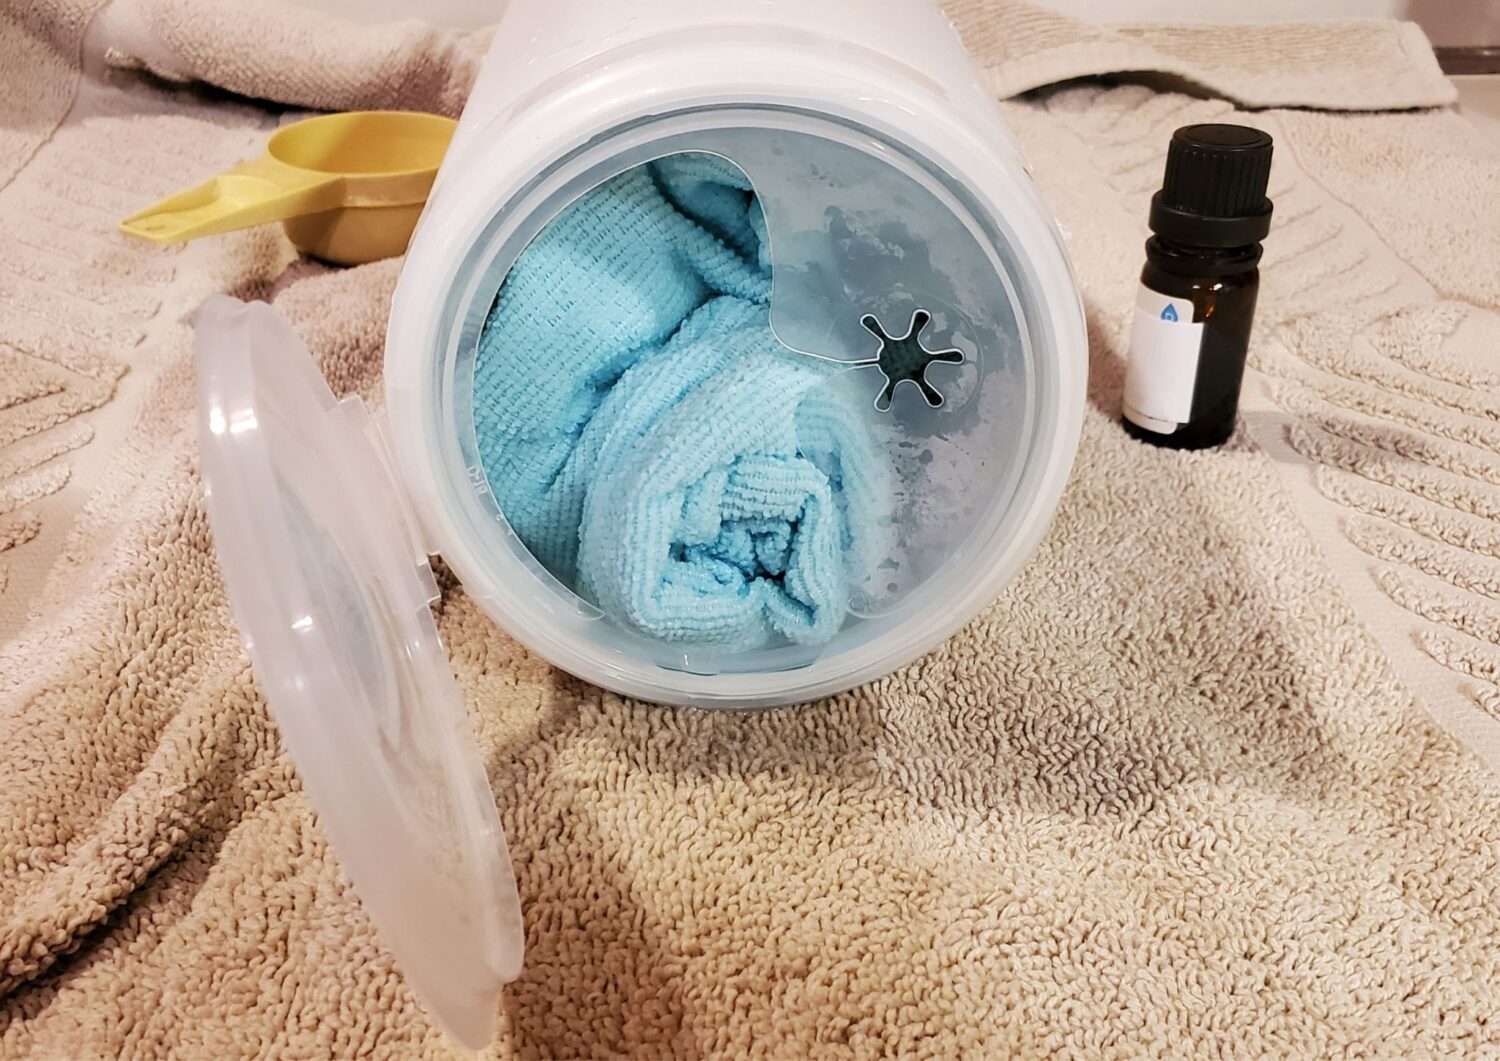
- Working on the towel you laid down, lay each microfiber flat, folding over twice to make a long, narrow strip. Roll it up and put it into the empty wipe container – repeat for all ten.
- Replace the container lid. You can now flip up the lid whenever you want a fresh cloth.
- Launder the used microfibers with your regular towels.
Warning
I have seen several posts around the internet that instruct people to mix bleach with rubbing alcohol for homemade cleaning supplies. DO NOT do this, it is a dangerous combination. The fumes create chloroform whick can cause you serious harm. You can get chemical burns and create a poisonous gas. I cannot stress this strongly enough–please avoid mixing chemicals!
Furthermore, if you choose bleach over rubbing alcohol, you’ll eat up the fibers of your microfiber clothes quickly. Thus, you will need to replace them sooner and they will have less value.
The Takeaway: You Save Money on Skyrocketing Costs by Using Pre-Soaked Microfiber Sanitizing Cloths
This sounds labor-intensive, but it actually only takes three minutes per fresh batch. These homemade microfiber wipes are less wasteful for your wallet and the environment. Those outcomes make it all the more worthwhile.
What are your best tips for saving money on cleaning supplies? If you have an alternate use for microfiber that helps cut back on expenses, please share it with us on social media. Until the next time, have a happy DIY day.

