You have a problem. You have a t-shirt you really love and don’t want to give it up.
Maybe you lost weight, and it’s too big. Or perhaps it shrunk down too small. Maybe you just have so much clothing stuffed into your dresser drawers that they will not close.
Well, we have the solution. Don’t give up that favorite tee shirt. Instead, recycle it into an easy, sturdy, cute shopping tote. This project requires just minimal sewing skills to make two easy rows of stitches. I use a machine, and I’m by no means a seamstress. But this is very basic. It’s even a nice project for someone who wants to give sewing a try for the first time.
I’m giving you step-by-step guidance, so don’t worry about that! I even include the photos I captured while I worked on this cute tote bag. If you are a “crafty” person, you will complete this project in about ten minutes. In fact, it might take you longer to read the steps than to make the bag.
This blog post will include images to show you what to do in order. Then, I’ll create a printable instruction sheet for you to keep handy when you’re ready to make your recycled t-shirt tote bag.
Are you ready?
Table of contents
The Plastic Bag Phase Out is Underway
Across the United States, many states already enacted bans on disposable plastic bags. According to the National Conference of State Legislatures, these states have existing bans on single-use plastic products:
- California
- Connecticut
- Delaware
- Hawaii
- Maine
- New Jersey
- New York
- Oregon
- Vermont
Additionally, Washington, D.C. has a tax on these bags, although they are not prohibited.
Paper bags are available in some states, but the retailer charges a small fee under the new rules.
Besides legislation, several of the largest retailers in the country vow to eliminate bags from their stores by 2025, including Walmart and Kroger.
Sure, you can buy reusable bags at the store. But you can also make your own. These are sturdy, plus they are machine washable and dryer safe, making them more sanitary than the nasty bags that collect dust in the trunk of your car.
How to Recycle a T-Shirt into a Market Tote Bag in Just Five Steps
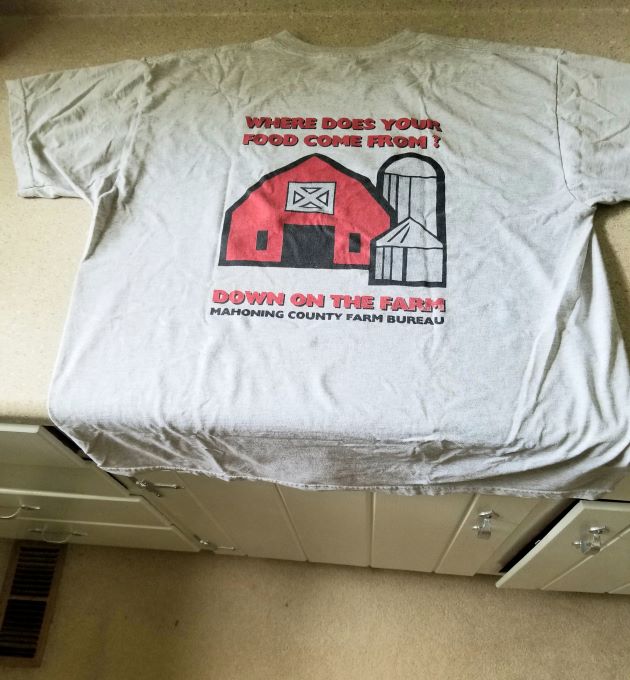
This is the shirt I worked with for this article. I picked it up somewhere when I lived in Ohio. I like it because it reminds me of the good friends I made while living there. But I lost over 70 pounds, and I did not want to trash the shirt. I decided to upcycle this tee instead. Follow along. I’ll show you how!
Step One: Mark the neck and cut
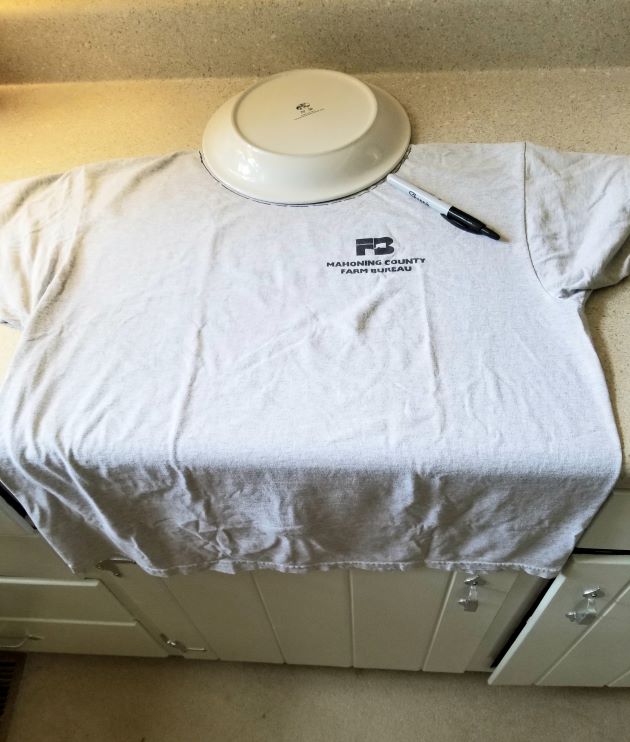
Use a small plate and a permanent marker to create a half-circle shape at the neckline. This becomes the top, or opening, or your market tote bag. Use sharp scissors to neatly cut along the outside of the line you drew. You don’t sew this opening (unless you want to), so be neat and don’t make it “choppy” looking. Add a thin layer of Fray Check to prevent it from unraveling if you wish. I will be honest–I did not do this, and my bag is still in great shape after many uses and several washes.
Step Two: Remove the t-shirt sleeves carefully.
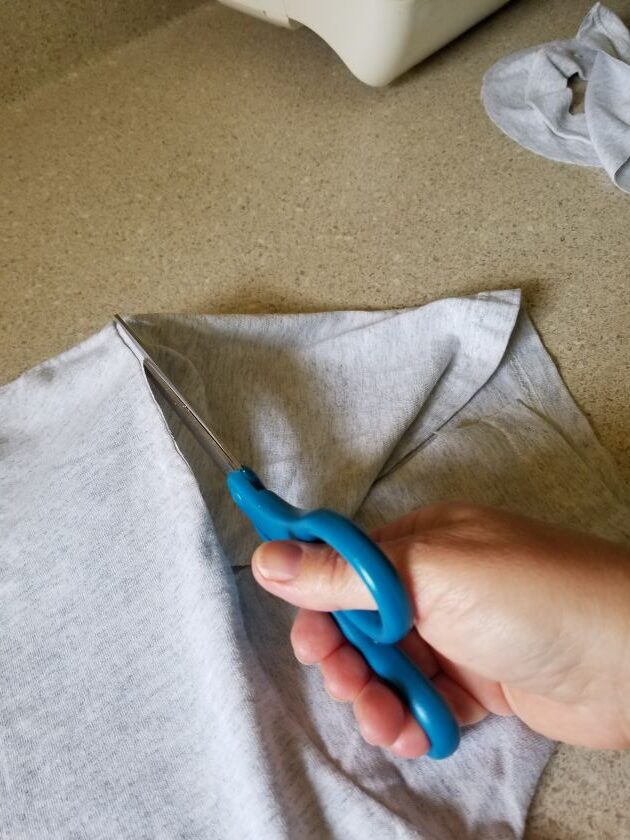
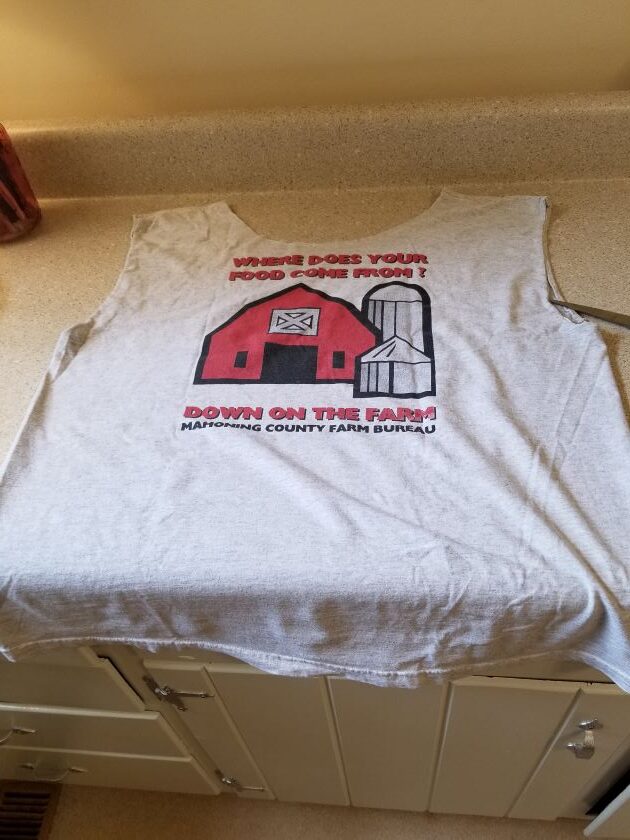
Next, you will craft the handles of your tee-shirt into the handles. Very carefully, cut off the sleeves along the outside of the stitching where the sleeve attaches to the body of the tee. You want the row of factory stitches to remain in place for reinforcement. Again, you want nice, smooth cutting, no choppiness! Take your time.
After you remove both sleeves, your project will look like this:
Step Three: Put the “right sides” together
In sewing, the term “right side” refers to the printed side of the fabric. You should put the “right sides together” by turning the t-shirt inside out.
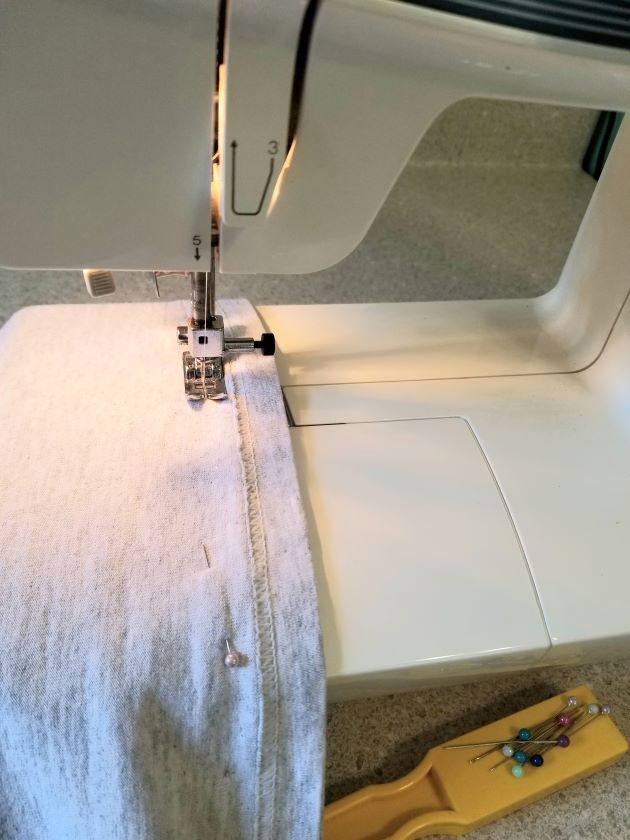
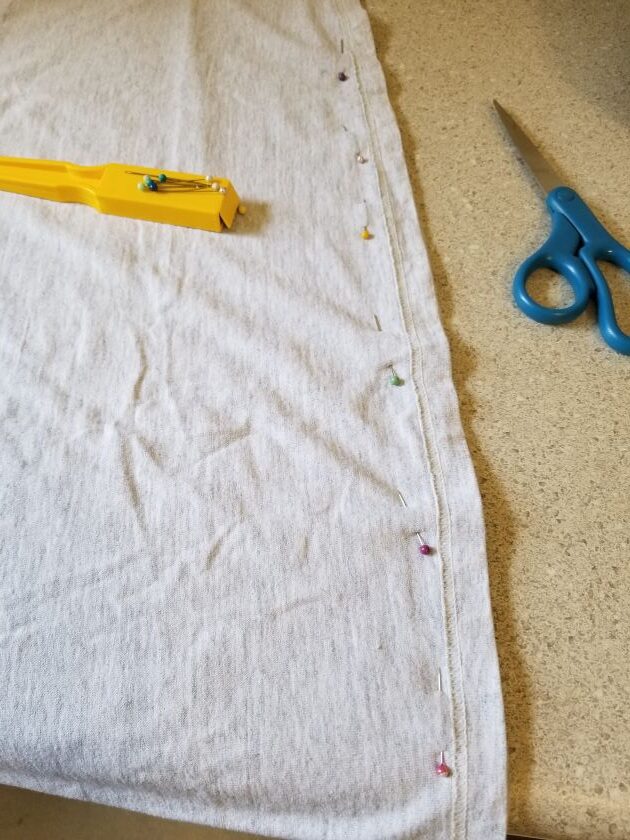
Then push a few pins into place along the bottom hems of the tee to secure the fabric for the next step. In this step, you are creating the bottom edge of the bag. It should look like this:
Step Four: Sew the bottom of the t-shirt.
Now we move on to the sewing portion. My machine has a “stretch stitch” setting to use when working with stretchy fabrics like tees. I used that setting.
Using a heavy-duty thread that matches the fabric, sew two rows of fairly tight stitches for extra strength. If you are an accomplished seamstress (I am not), you could also form gussets along the bottom. If you are a novice seamstress who does not know what “gusset” means (or a lazy one like me), you can skip the gusseting and just go with the two rows of stitches. Be certain that you sew all the way across, leaving no gaps at the ends!
Step Five: Turn the shirt back to the right sides out
Remember that you sewed your shirt with the printed sides (right sides) facing each other. So now you have one step left to do–turn the shirt back out!

Recycle an Old T-Shirt Into a Shopping Tote in 5 Easy Steps
Equipment
- Sewing quality scissors
- Heavy duty thread
- Sewing machine
- Permanent marker
Materials
- One old t-shirt
- Fray Check
Instructions
- Lay the t-shirt flat. Use a small round plate to trace a half-circle shape around the neck of the tee. Carefully cut around the outside of the marking. Cut carefully, not choppy! This becomes the top of your tote bag.
- Remove the sleeves by cutting outside the row of factory stitches. This forms the bag’s handles.
- Put the right sides of the shirt together by turning it inside out. Run pins along the bottom hem, securing the two parts together. This forms the bottom of the bag.
- Sew two rows of stitches along the bottom hemline that you just pinned — this is the bottom of the tote
- Turn the bag back to the right sides facing out. You have a tote bag!
The Takeaway: Don’t Trash Your Favorite T-Shirt, Recycle It!
Now you have a way to repurpose those tees that you love so much. No more trying to stuff them into that crowded closet or feeling guilty that you spent money on a tee that shrunk the first time you washed it. If you try this project, please do let me know how it worked out for you. I love hearing about your success.

