

Cabbage might be among the easiest to dehydrate vegetables that we can share with you. Unlike many of the dehydrator projects we describe, it does not require any blanching and ice bath processes. That simplicity means that you can prep a nice big batch of this staple veggie and have it begin the drying process in only a few short minutes.
Not only is it easy to dehydrate this leafy veggie, but it’s also rather gratifying. At the end of the process, you accomplish something worthwhile. So be proud of yourself for taking an interest in learning how to do this easy project.
Why Dehydrate Foods?
Drying foods is one of the most sensible ways to “put up” your summer crop for winter consumption. Here is why:
- Space-saving. Drying removes the moisture content. Thus, you reduce the size of the produce, taking up far less storage space. This is especially useful if you live in a small home or apartment.
- Preparedness. If you live in an area prone to wild weather, storms, or other frequent disasters, you’ll have a food supply at the ready.
- Economical. Granted, cabbage remains relatively cheap all year long. However, if you or a friendly neighbor find yourself with a bumper crop (as I have!), why, that is even better. During the harvest, scope out a local farmer’s market. There you can often find prices lower than at the local grocery store.
- Nutritious. Any veggies will lose a little bit of their nutrition as they dry. However, they do retain most of their nutrients. Add to that, you are skipping the sodium you find in frozen or canned varieties during the off-season.
- Tasty. When you complete the drying process, your veggies look shriveled to nothing. However, once you reconstitute them, you will be pleasantly surprised at the taste it retains.
- Long-term storage. I store it in a mason jar and note the date on the lid. Keep it in the dark, room temperature spot for as long as six months.
How to Use Dehydrated Cabbage
You might wonder what on Earth you will do with dehydrated veggies.


I use my dehydrated vegetables in:
- Soups
- Stews
- Roasts
- Stirred into rice
- Reconstituted and dropped into cabbage juice or a green smoothie
- Ground-up finely and hidden in meatloaf for my picky kid to eat.
SAFETY NOTE: This veggie is packed with Vitamin K. If you take blood thinners, check with your primary care physician and ask if you should avoid this food.


Picking a Nice Head of Cabbage
Here is what to look for if you are shopping at the grocery store. If you are growing it in your garden, well, you will probably be just a little less picky!
- Select heads that are medium to large in size.
- Examine it to make sure you don’t see any cracks or splits
- Make sure you don’t see dark spots or rot
- Pass on it if you see a bug or worm infestation. It happens.
- As you hold it, it should feel dense and heavy.
- The leaves should be tightly closed and not weeping or wilting.
- The outer leaves a bright green or red to purple in color, depending on the current selection.

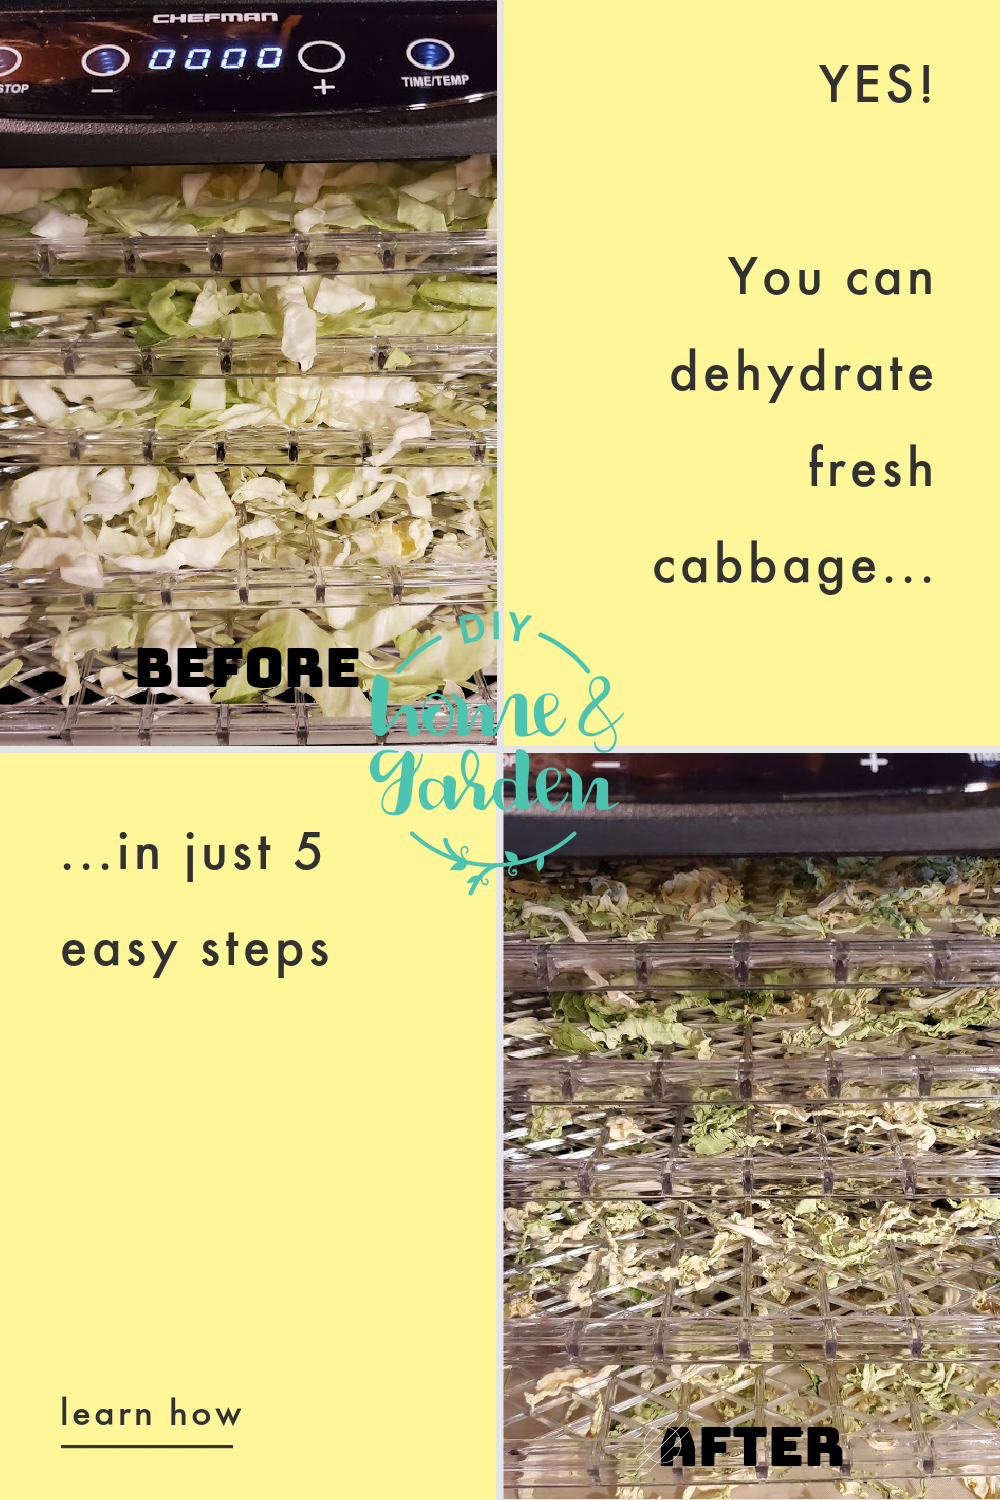
How to Dehydrate Cabbage in Five Easy Steps
Are you ready to dehydrate? Here are the things you need to get started.
Kitchen Equipment You Need:
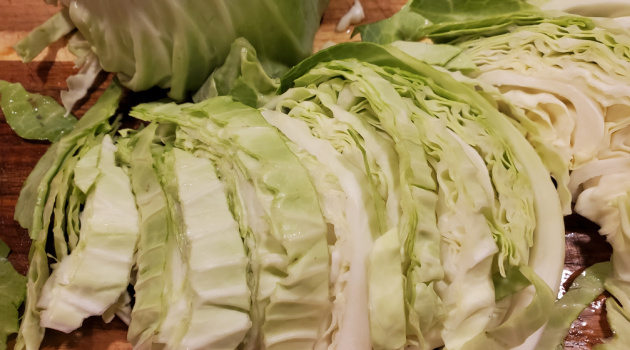
- Large butchers knife
- Cutting board
- Glass mason jars with metal lids for storage
- A means of drying
These steps explain how to dry in an electric dehydrator. If you do not own one, no worry. Check out our resource on how to dry using an air fryer or your oven.
If you have a bumper crop of cabbage or can purchase it very inexpensively on sale, dehydration is a perfect storage option. So easy to do!
How to Dehydrate Cabbage for Long-term Storage
Materials
Tools
Instructions
Notes
Outer leaves
Save the outer leaves for a vegetarian stock. They are delicious and fine to eat, just not appropriate for the dehydrator.

When you are ready to use any dried veggies or herbs, reconstituting them is easy.
Place only a small amount of dried foods you need to use into a bowl. Remember–they are going to expand, so don’t overdo it! Add cool water and let them soak until they plump back up. If I’m popping them into a stew or a soup that I plan to simmer all day–or a slow-cooker roast, I don’t bother with this step. Instead, I just toss the dried produce directly into the pot.

The Takeaway: You Can Dehydrate Cabbage, and It Is Easier Than You Imagined
Because you don’t need to do a blanching and ice bath step, it really only takes a few quick minutes to prepare to dehydrate cabbage. This project is ideal for beginners. The main thing to remind you is to watch your dehydrating time and don’t scorch your cabbage! Other than that, this is relatively fool-proof!
![]()
