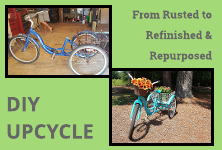
I love container gardening. I love the flexibility of moving around containers, changing plantings throughout the season, and being able to set them up as cute displays around my yard. A few weeks ago, I told my husband that I wanted to convert an old bicycle into a planter.
We were trying to decide how, if we did this, we would be able to make it stand up. The next day he was at work and saw a rusty old “beach bike” in a storage room. Basically, this was an adult tricycle.
It was in rough shape, so he got permission to take it home. Score…free bike.
We went to our local Ace Hardware, purchased paint, and got to work!
RELATED POST: Upcycle Plastic Bottles Into Useful Garden Tools
The Bike Turned into a Planter: Before
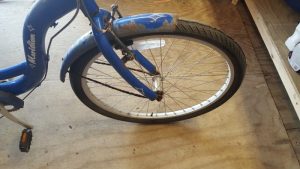
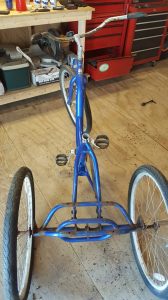
This was the bike before:
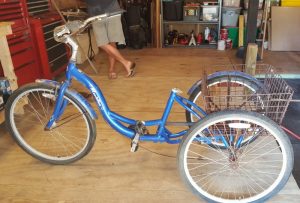
This bike was in very rough shape. The rear basket was completely corroded. And, the fenders were basically held on by the rust. In fact, one fender fell off when the husband was loading the bike onto his truck.
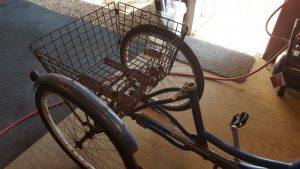
Disassembling the bike
We started the process by removing all the parts of the bike. We cut the brakes off altogether, took the basket off, and removed the fenders…at least the ones that were still attached.
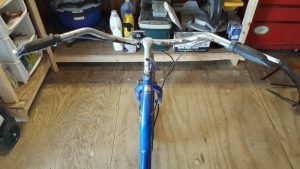
Sanding and priming the bike
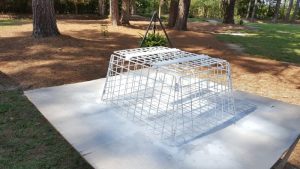
We started the sanding and painting the rear basket of the bike and chose Rustoleum 2x White Primer. We chose white primer because we were painting the bike white and a bright blue. Choosing a white primer ensured a bright white finish.
After priming, we painted the basket Rustoleum Bright White in a gloss finish. We wanted this container to pop as it would eventually be the main attraction of this container garden.
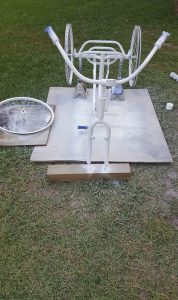
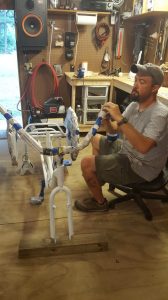
Next, we moved on to sanding the body of the bike. Again, we primed with Rustoleum primer. Then we applied the glossy white paint to the handlebars, pedals, and seat shaft.
Also, we took the tires off the rims and primed and painted the wheels with the glossy bright white.
Painting time:
After priming and then painting the areas that would remain glossy white, we protected those areas with newspaper and painters tape. Of course, this was all done over several days. All pieces were completely dry before we taped.
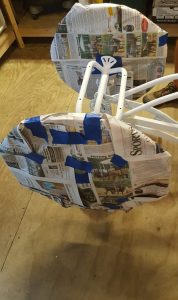
After completely protecting the white areas with newspaper and tape, we sprayed the remainder of the bike. Remember, it was already primed. For the body of the bike, we chose Valspar Project Perfect Spray Paint in Exotic Sea.
We chose this bright aqua and white because we were putting the bicycle planter into a shaded area. Therefore, the paint colors would contrast beautifully against the trees and pine straw.
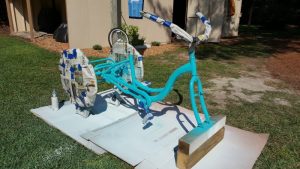
I purchased an inexpensive wicker looking basket. Actually, it is a plastic basket which will hold up in the weather better than real wicker.
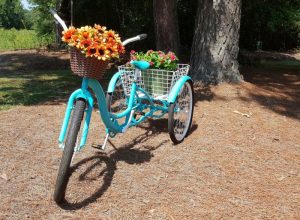
Because it is so late in the season, I chose not to plant anything in the front basket. Instead, I went to my local Dollar Tree and purchased sunflowers and arranged them in there.
Then I took a pot of impatiens and placed them into the rear basket. Next spring, I will get more creative. I am thinking that I will be planting herbs in it. But for now, this works for me!
The finished product:
Below is a photo of the finished bicycle planter:
A few hints:
Before priming, be sure to scrape, sand, wire brush, and grind as much loose grit as you possibly can.
Then, we use a Rustoleum spray grip trigger to make it very easy to spray paint. This can be purchased at any hardware or home improvement store. Also, it works with the Valspar spray paints.
Don’t rush! This project took two weeks to work on just a little bit at a time. If you don’t wait in between coats of primer and paint you can mess up your paint job.
Use the correct amount of primer and paint. For our project, we used two coats each of primer and paint. This bike was so rusted that was what it required. Because of that, we used a total of 9 cans of paint and primer.
So keep an eye open for any fun project and get creative with what you can make into a planter for your container garden. Have fun!
